A WORD OF EXPLANATION – MUST READ!
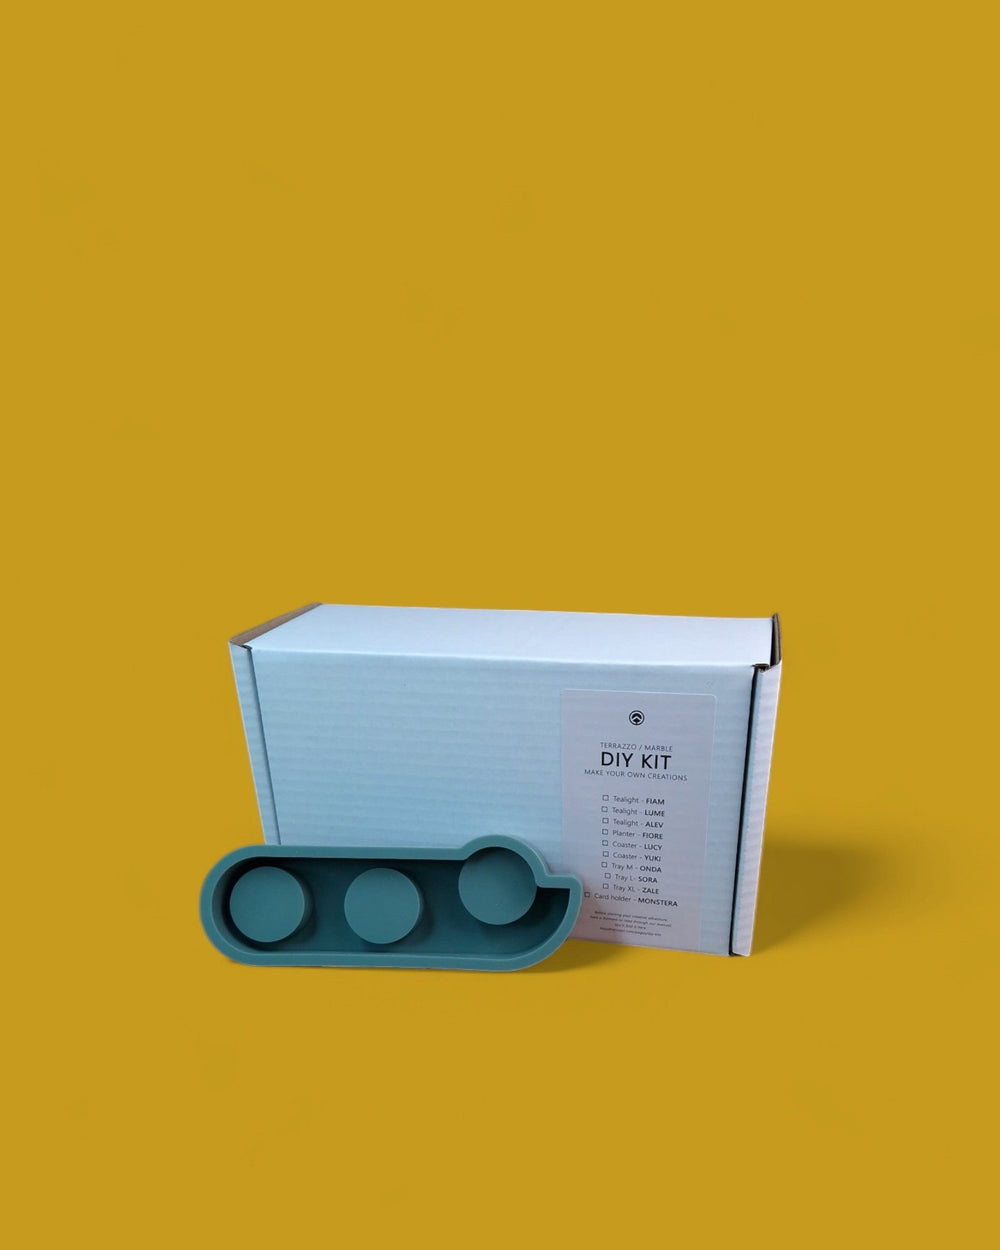
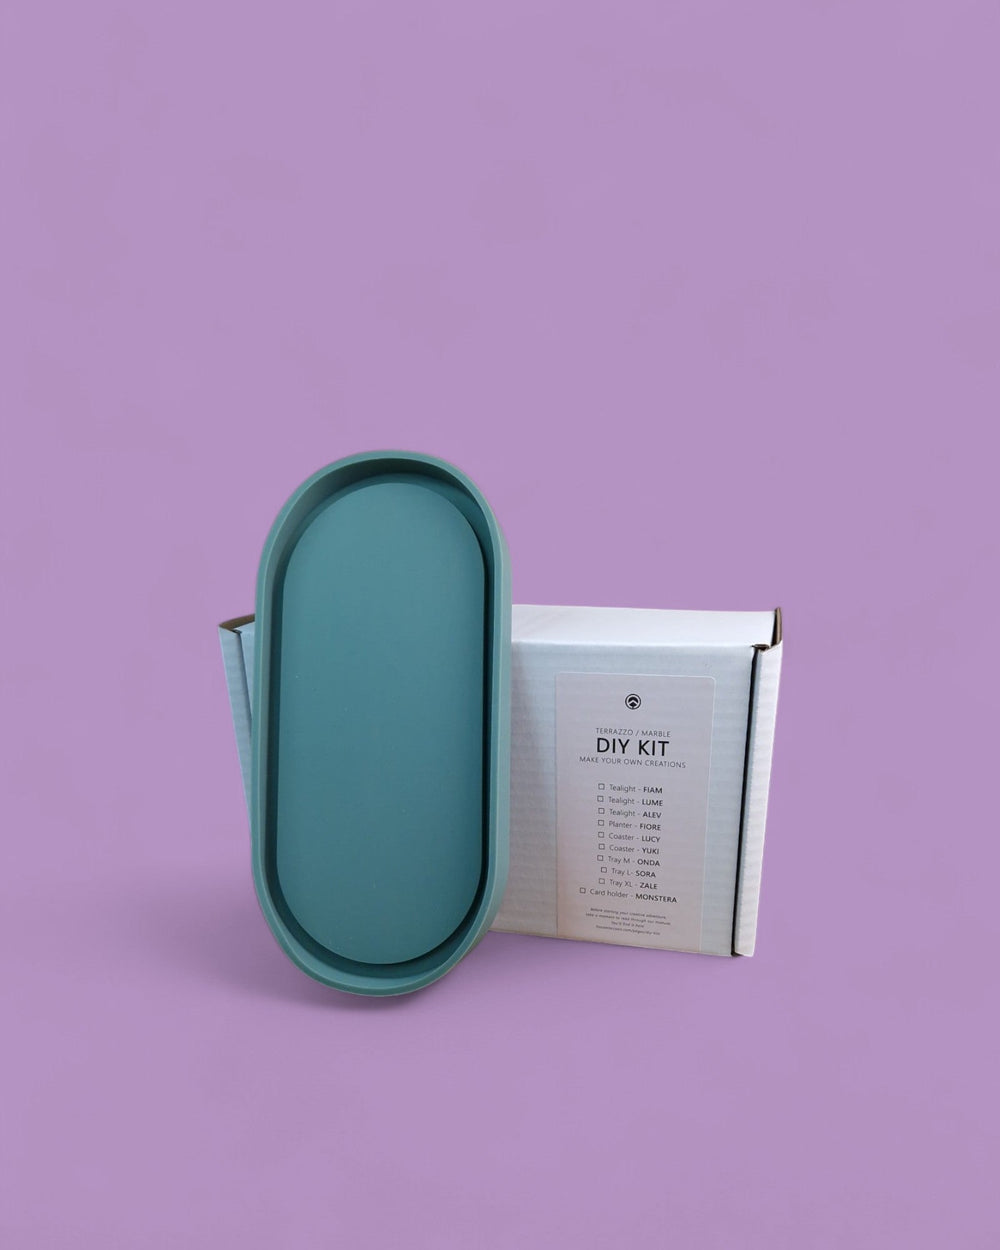
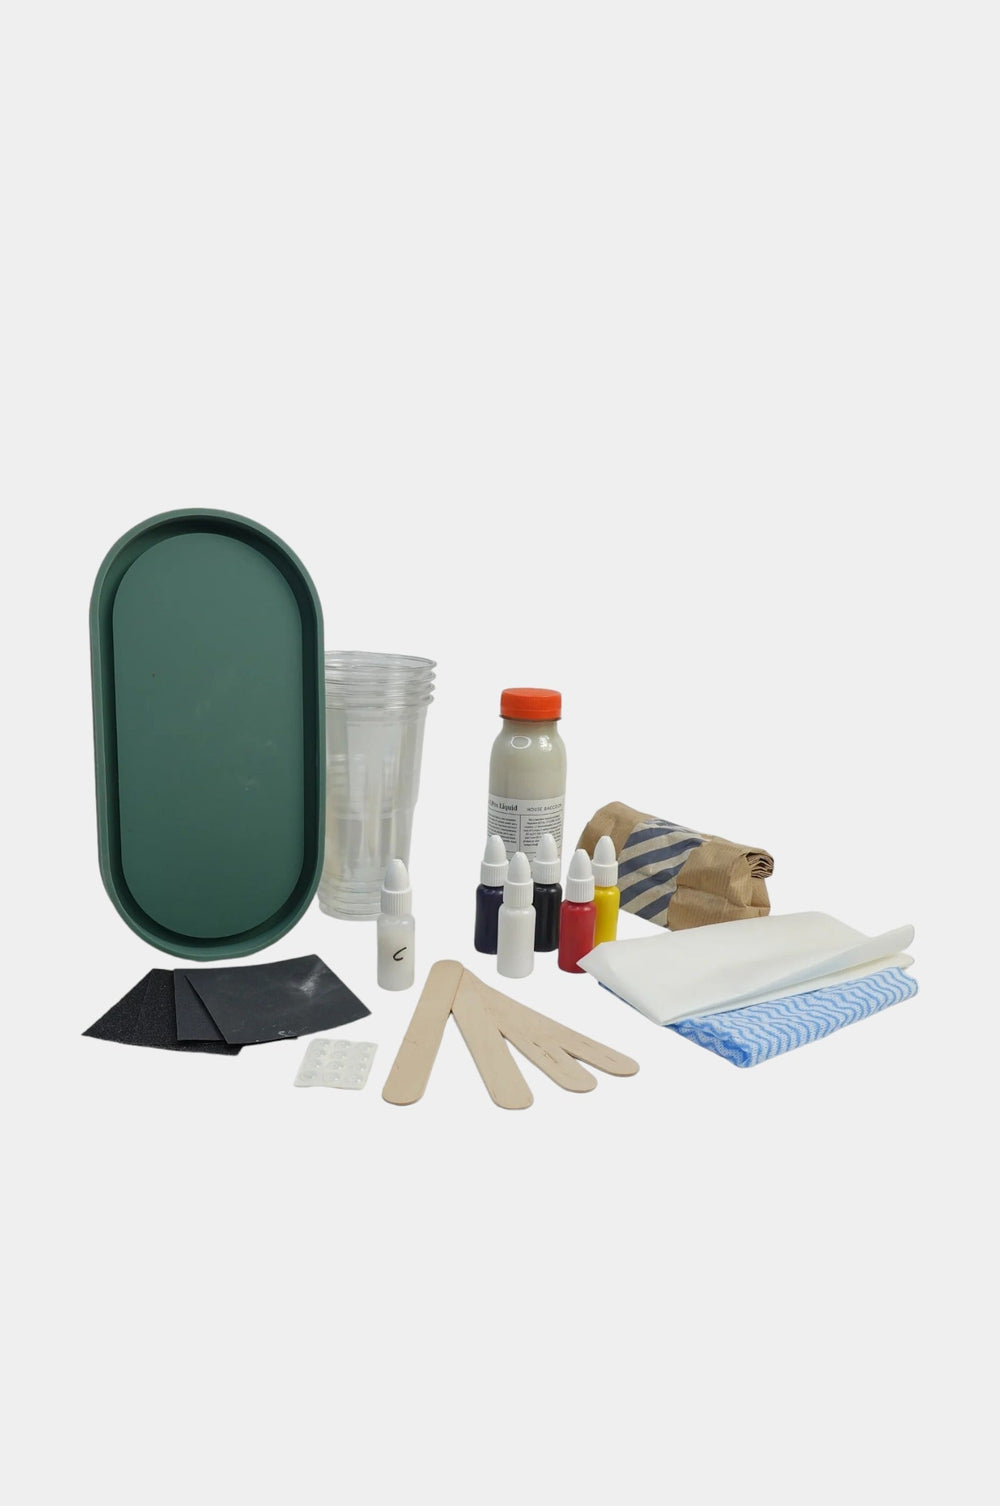
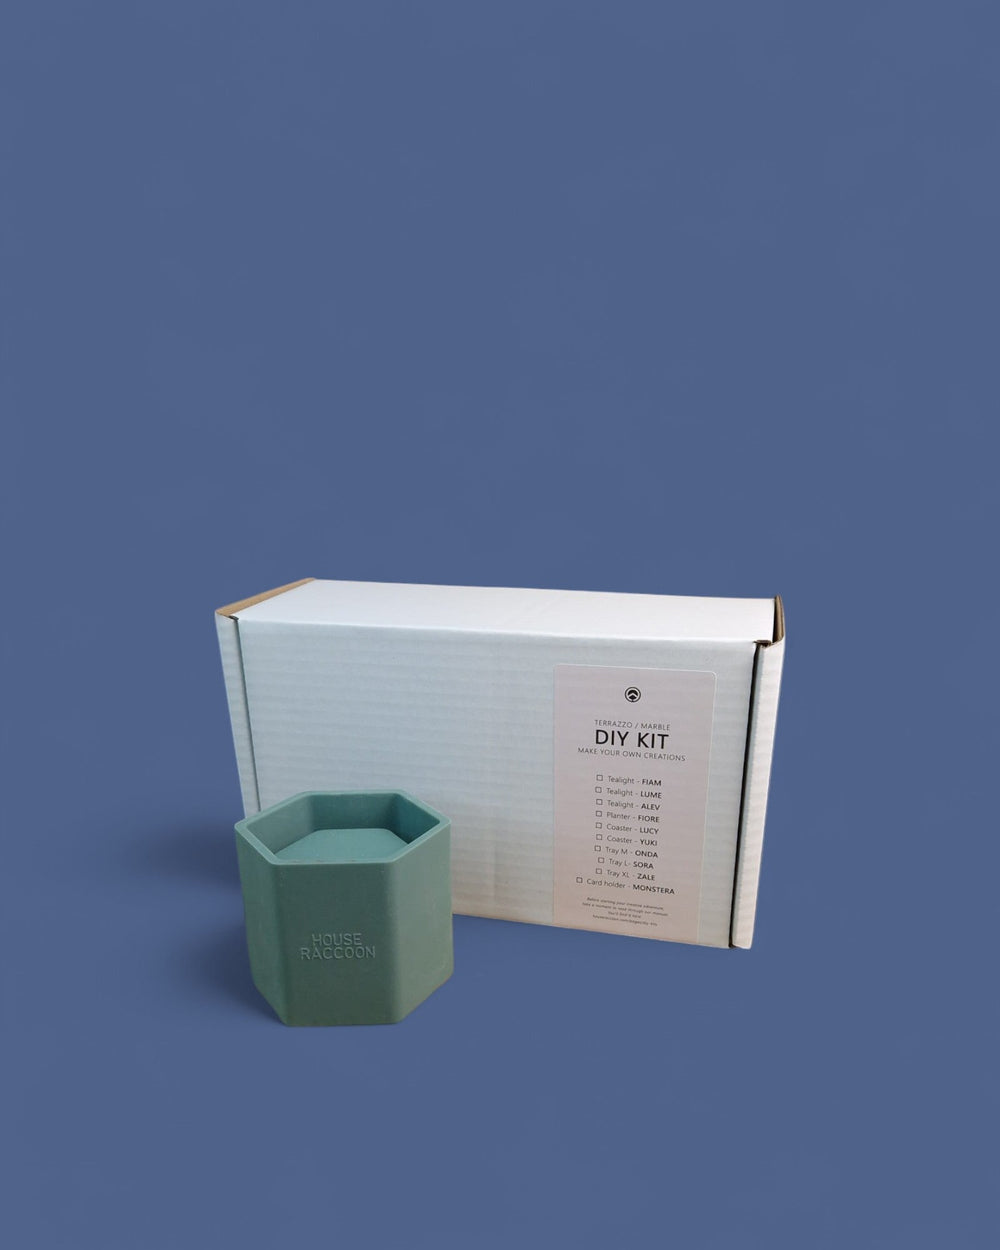
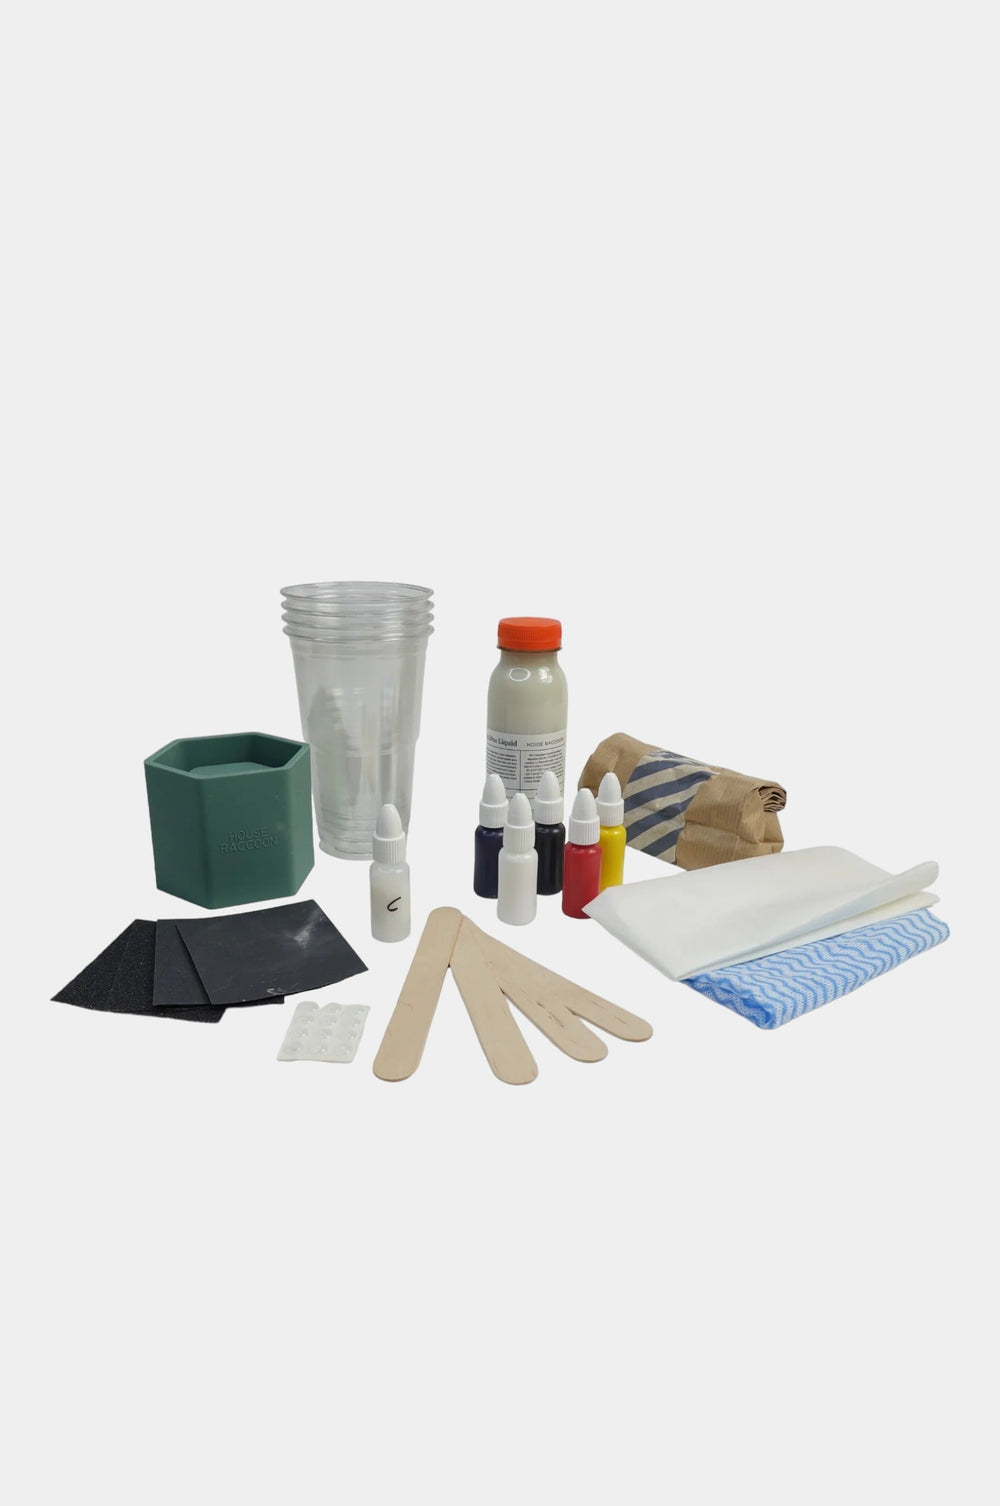
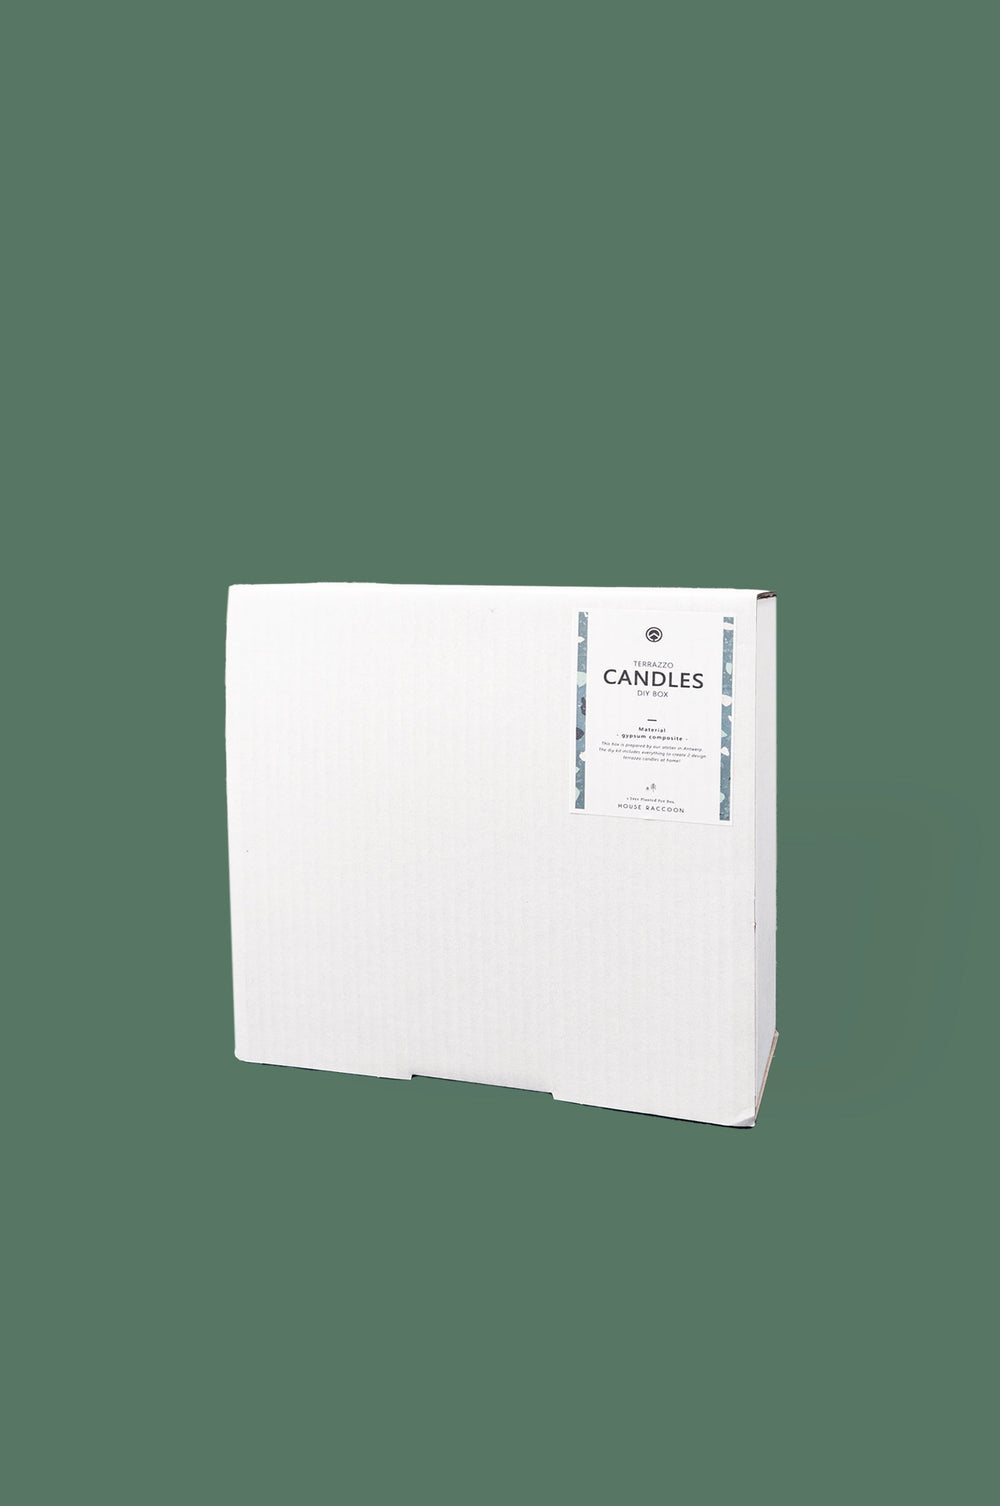
Thank you for purchasing our unique DIY Box - Terrazzo Candles. You can make 2 candles with this box. We will take you step by step through the process of your own terrazzo* DIY item. Be sure to read the manual completely, so that you can start your adventure well prepared.
*Still prefer a different technique than terrazzo? No problem! Our DIY boxes are just a tool for your creativity. Terrazzo, plain or even a marble base color? Everything is possible and everything is allowed. 😄
Is something missing from your box? Send an email to info@houseraccoon.com and we will gladly solve this for you!
* Make the terrazzo pieces in one go for the 2 candles.
* You make the candles 1 by 1 since you have 1 mold.
* Weigh your raw materials accurately.
* Cover your work surface to avoid stains.
* Wear an apron to avoid stains.
* Scale: place your cup on it. Make sure the 'unit' is set to grams and press 'tara' (this will only weigh the contents of the cup).
* Make sure the surface on which you pour the mold is level.
Be sure to read the manual completely so that you can start your adventure well prepared. Super sweet if you show your results afterwards by tagging us on Instagram ( @houseraccoon )!
This DIY uses a plaster of Paris. This plaster of Paris starts to harden after 20 minutes as soon as you add the white liquid to the plaster of Paris. So you have a maximum of 20 minutes in step 1 and step 3 to manipulate the material. If necessary, set a timer for 15 minutes so that you definitely keep an eye on the time! If you are slower than this, the project will fail! Don't panic, if you read the manual carefully in advance, this is more than enough time 😉
3 different colours for 2 candles. Duration from mixing to crumbling of terrazzo pieces: +/- 65 min.
Tip: Read through the steps carefully first and have everything ready before you start.
1. First choose which three colors you want to make for the pieces in your terrazzo (but of course you can also choose to make 2 colors or even just 1 color for your terrazzo chunks).
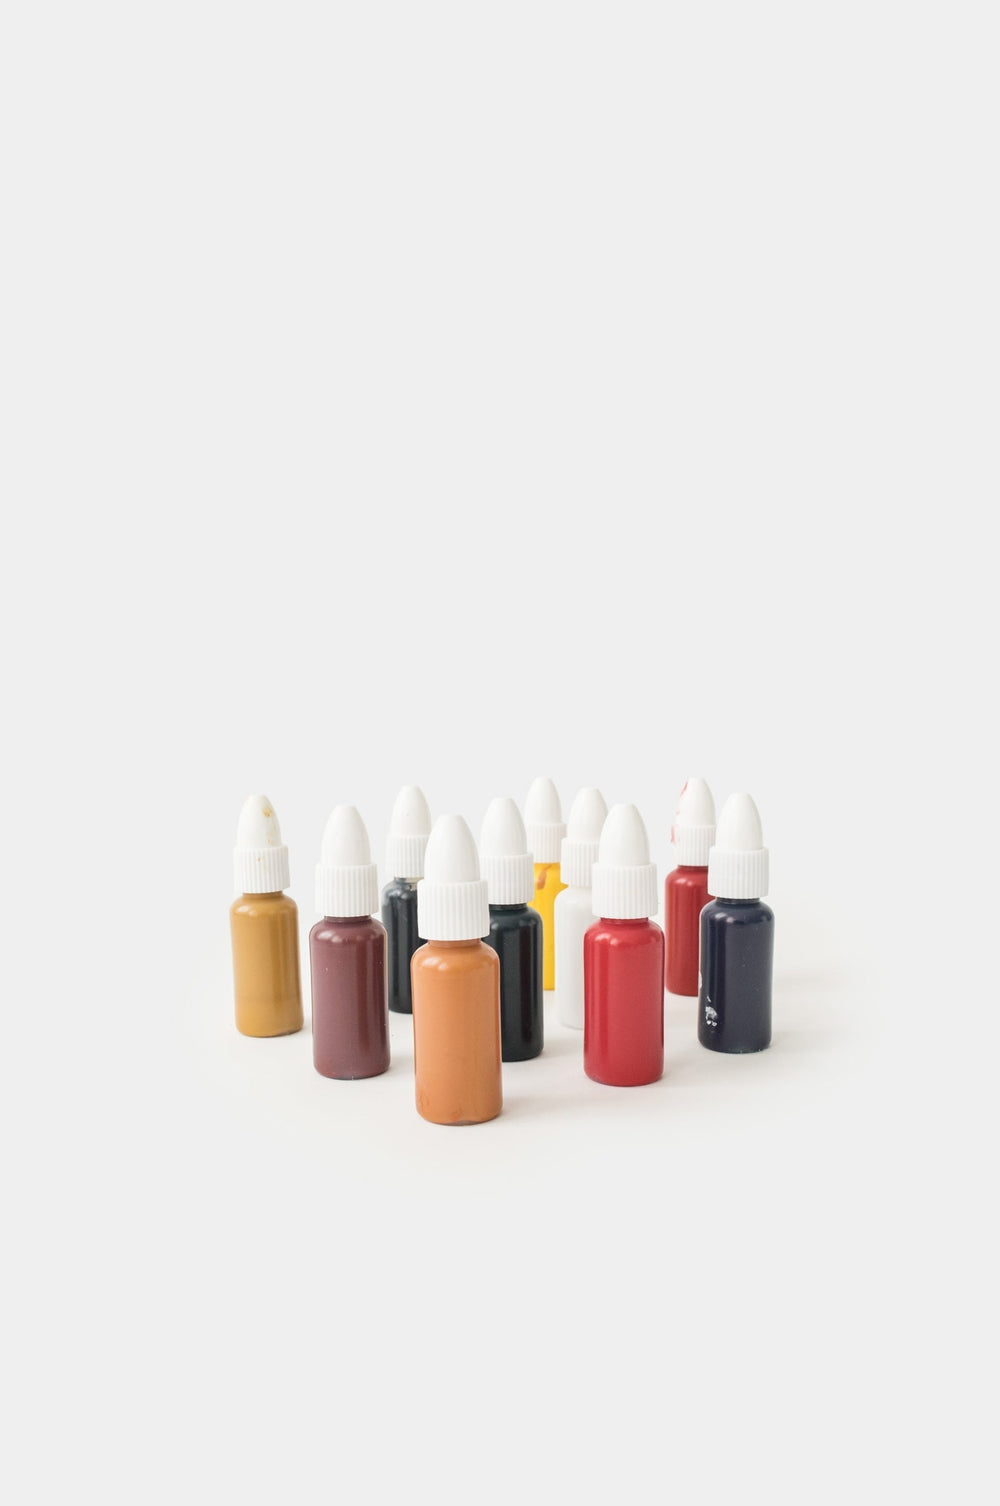
2. The kit contains 5 standard colours (the five bottles with dropper caps, put the bottle with "C" on it aside, this is for the penultimate step ). With the primary colours; yellow, blue and red you can make all the colours you want according to the colour wheel below (see tab Colour advice).
Set a timer for 20 minutes and start it as soon as you start mixing the ingredients.
1. Merging raw materials:
add half of the powder to the liquid. Mix with a wooden spatula for 20 seconds until all the powder is absorbed into the liquid. Then add the rest of the powder and mix for 1 minute until all lumps are gone.
2. Divide the mixture about equally over 3 cups. After 20 minutes the hardening process starts and the mixture should be poured onto the baking paper.
3. Add your chosen pigments per cup.
NOTE! Use max. 8 drops per cup. If you use more, there is a chance that the hardening process will slow down and even stop.
4. Mix well and remember the time!
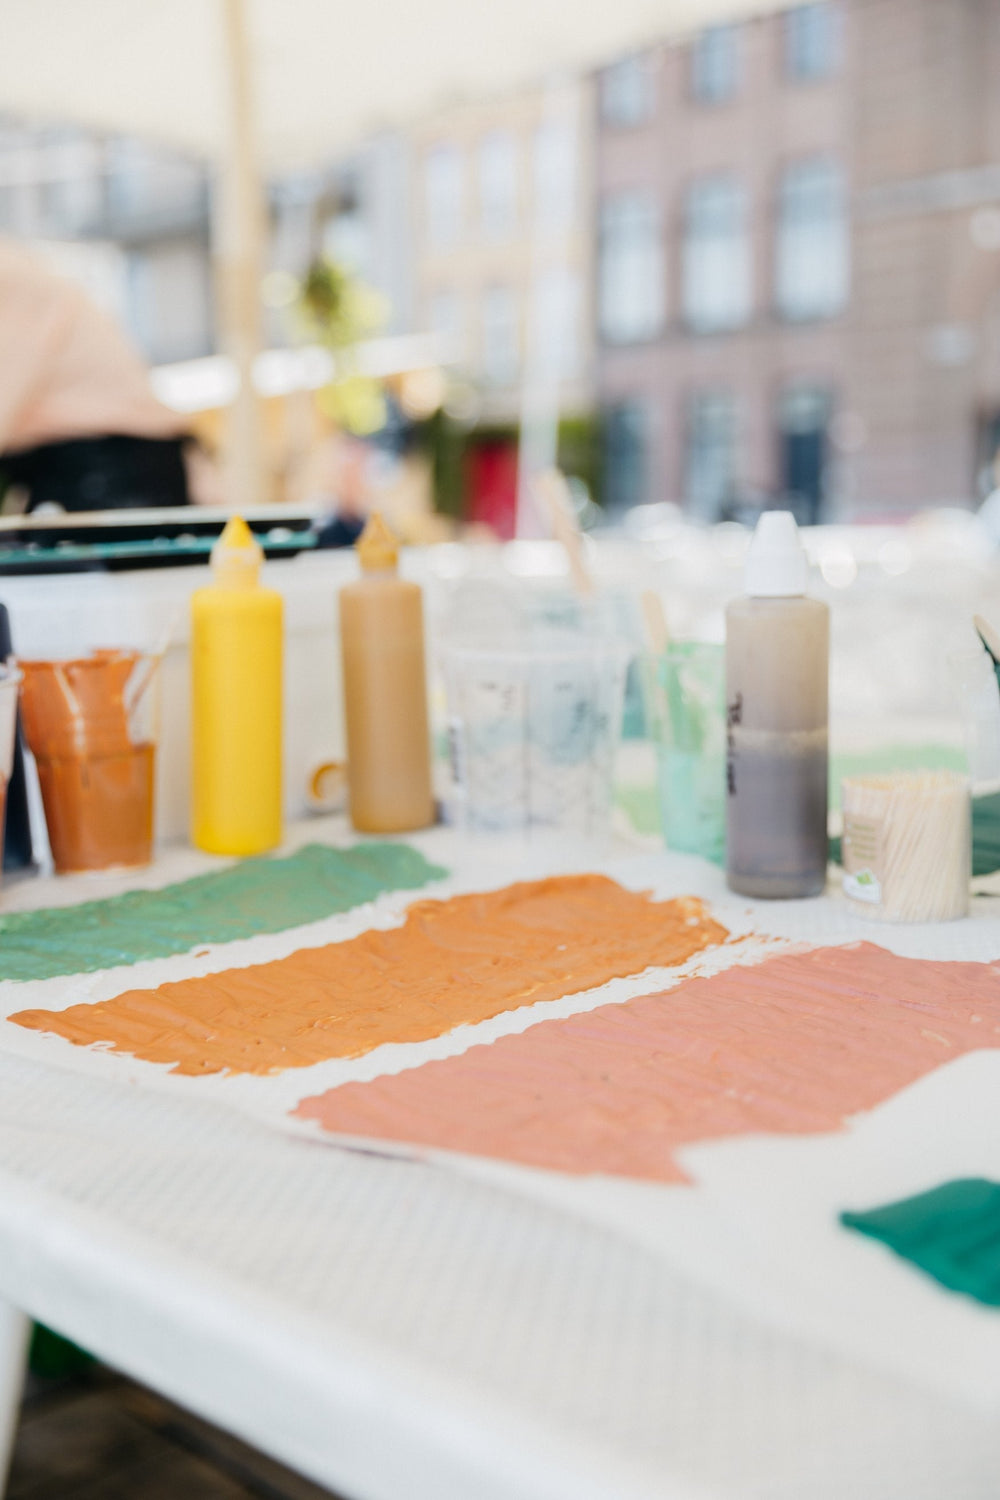
5. Spread the mixture thinly over the baking paper (see photo 1). You will now get 3 wide stripes of color.
6. Let it harden for +/- 40 min. The more pigment, the longer it can take to harden.
7. Check if the mixture has hardened enough by gently pressing it (it should look matte). Is it still sticky? Wait a little longer and check again a few minutes later.
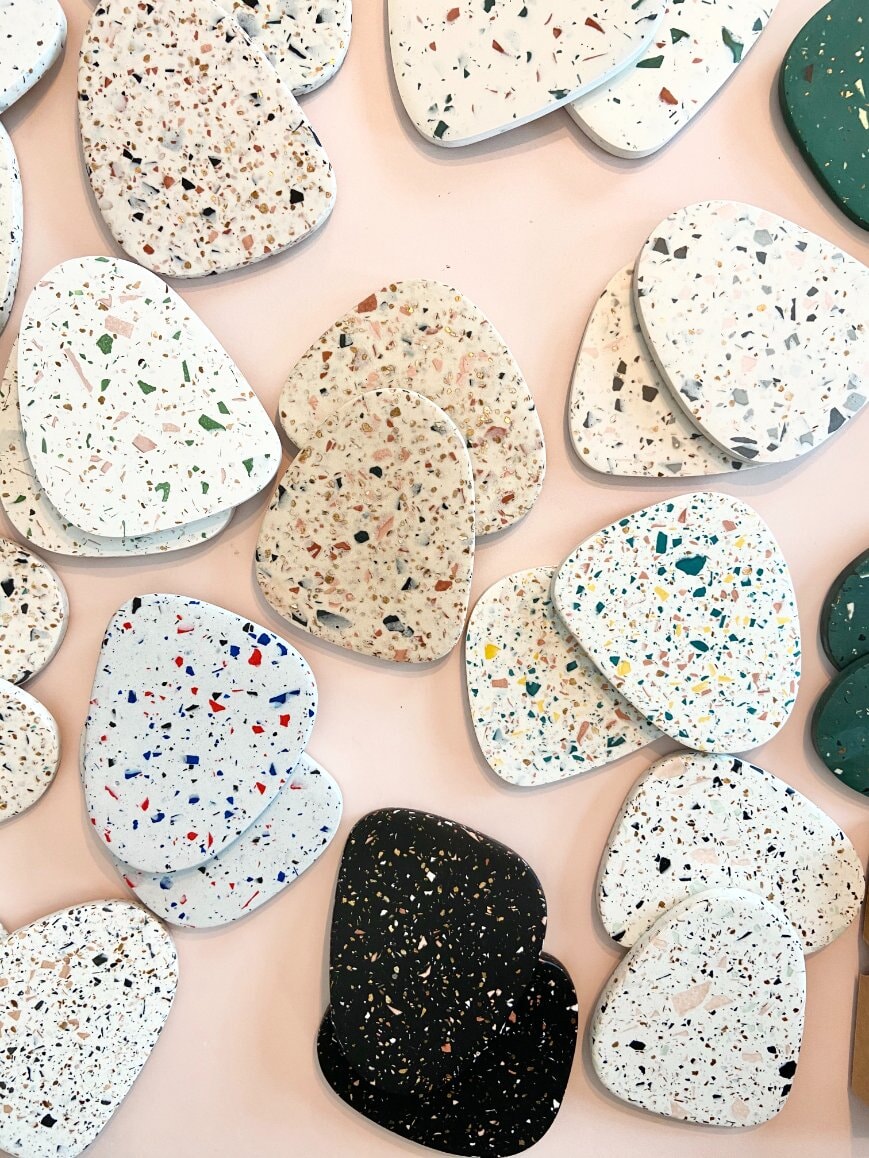
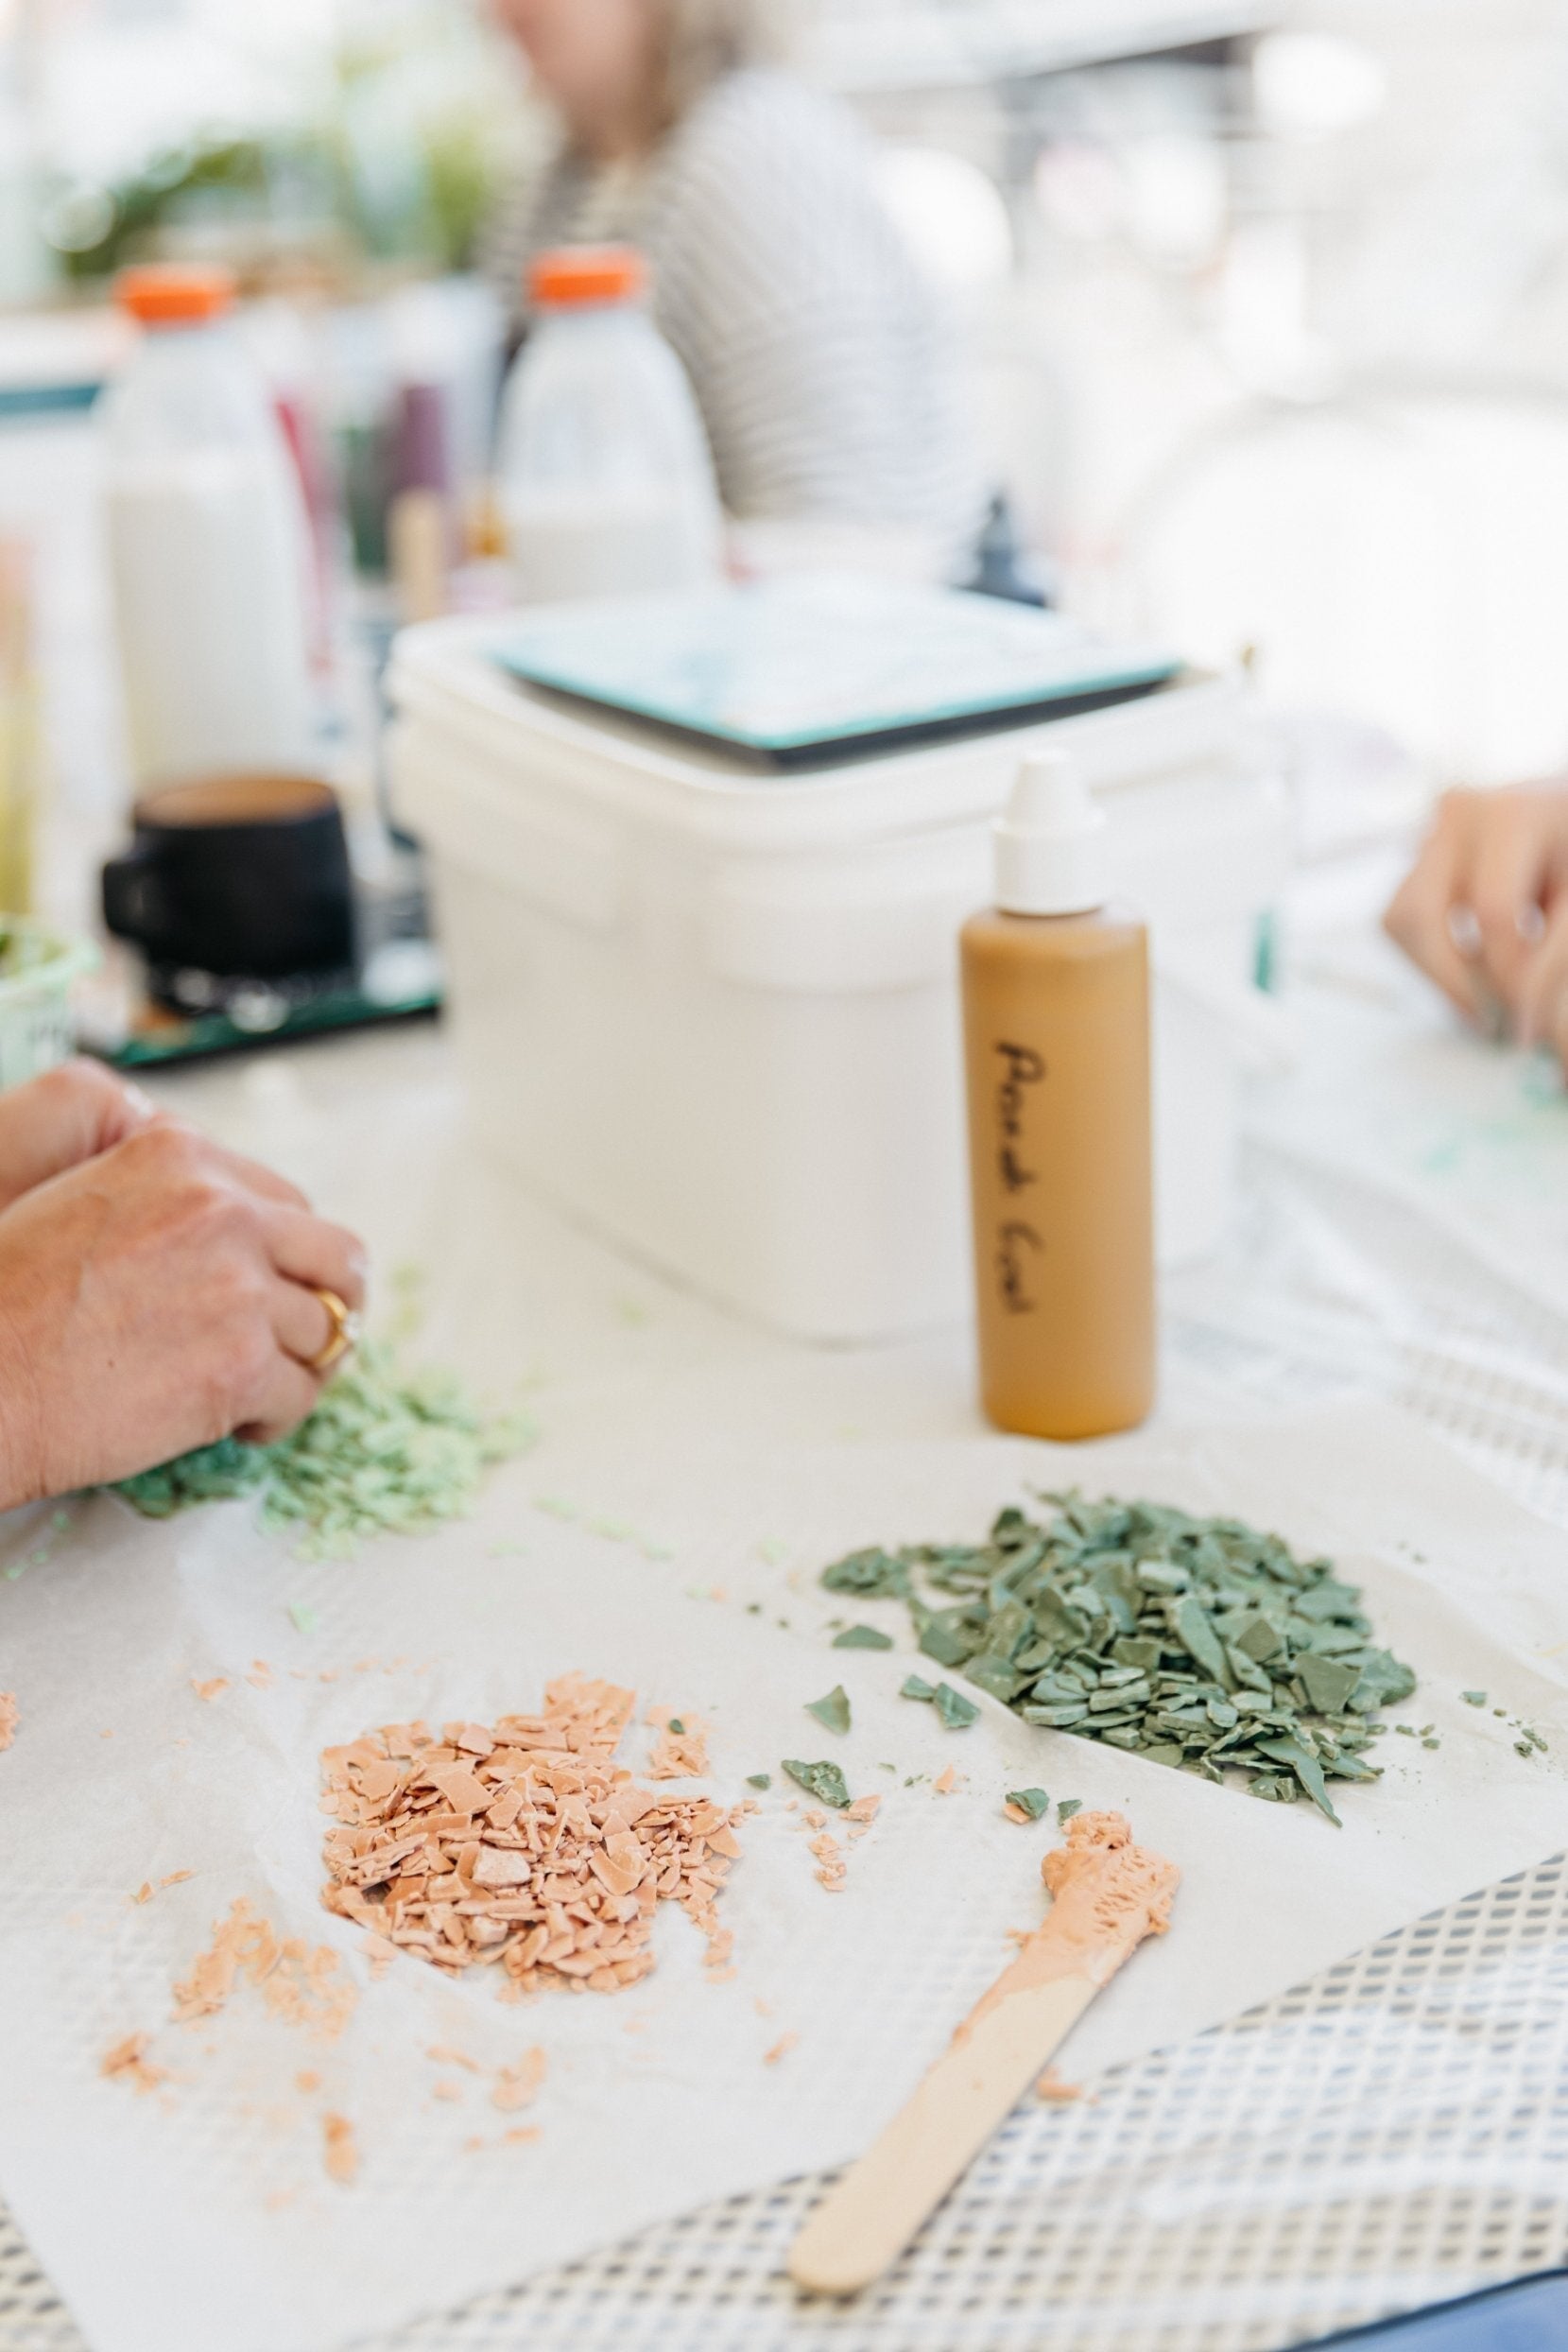
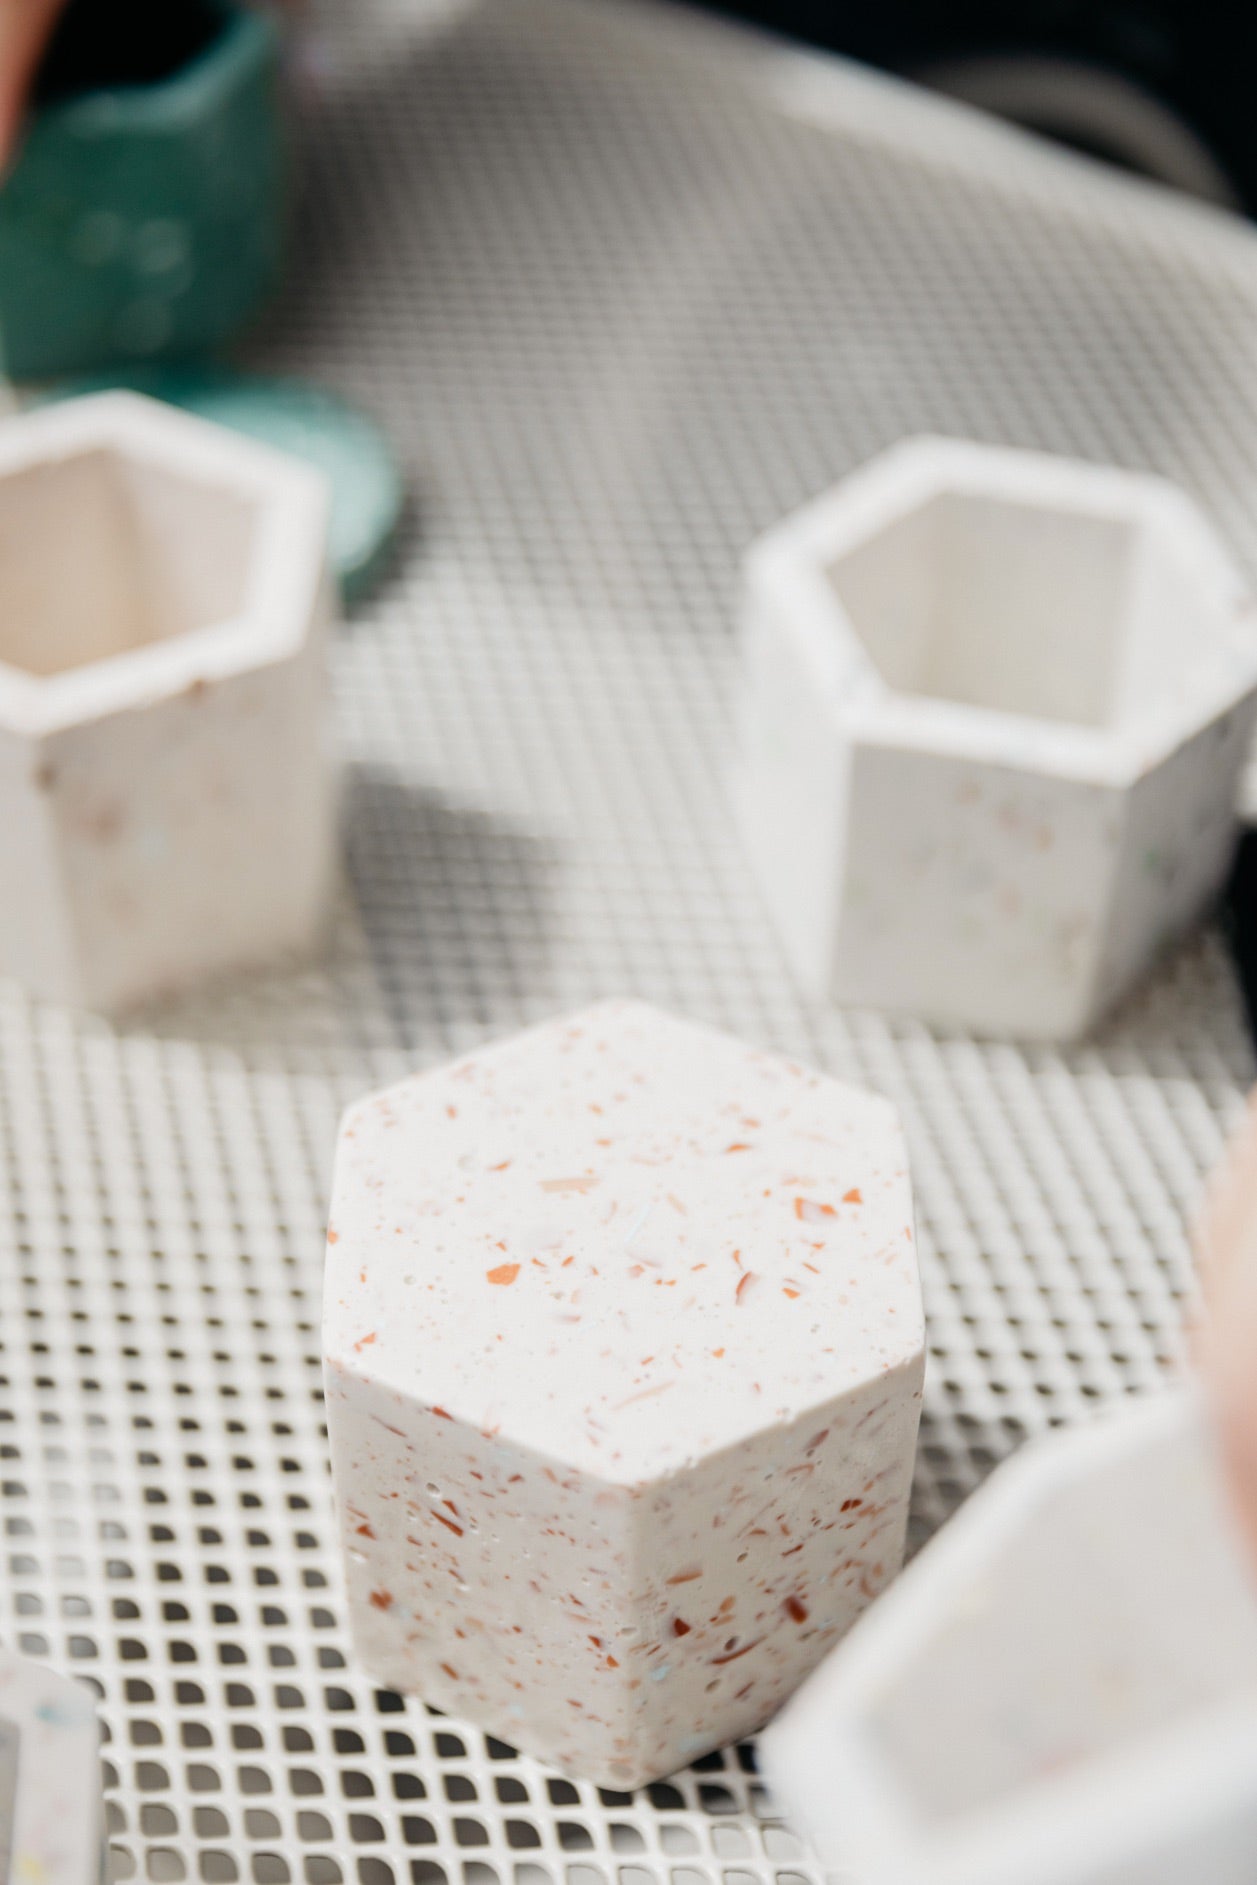
8. Once the plaster has become matt and hard, you can remove the different 'plates' you have made from the baking paper. You can now break these into small pieces in the three cups you just used (see photo 2). Before you do this, try to crumble the hardened plaster from the plastic cup so that you get even more pieces.
The size of the pieces determines how big your color pieces will be in the end result. Anything under 1 square cm is a good size or depending on your (artificial) nails no bigger than your pinky nail. The smaller you break the pieces, the busier your item will be.
9. Congratulations, your terrazzo pieces are ready!
1. You can make a color brighter by adding more of the same pigment.
2. Use less pigment for a light color. Start gently! Once your color is bright, you can't make it lighter (not even by adding white, which is not as powerful compared to the other colors).
3. For example, you can take some pigment with a toothpick (less than a drop) and dip it in the plaster. It will seem at first as if you have hardly put any pigment in it, but if you stir it with your spatula you will get a nice pastel color. You can repeat this a few times if you want to go a bit brighter.
4. Prefer a darker color? Then add black. Be careful! A drop of black is very dark. Start with a toothpick of black and if that is not enough, a drop.
5. Be careful with the amount of pigment. Better safe than sorry? Start with some pigment on a toothpick and wipe it off on your spatula. Want a more intense result? Use drops. The amount of pigment you use will affect your curing time.
6. Look at the color guide of our House Raccoon workshops (this is a good indication of the possibilities, although colors sometimes appear to be fickle). Note that you only have a choice of the 5 included colors and that not all colors from the color guide have the same formulation. If necessary, you can simply order the missing colors.
Warm colors are on the red side of the color spectrum and include shades such as red, orange, and yellow. These colors are often associated with warmth, energy, passion, and excitement. They convey a sense of intimacy and coziness. Warm colors are often used in spaces where a lively and dynamic atmosphere is desired, such as dining rooms or living rooms.
Cold colors are on the blue side of the color spectrum and include shades such as blue, green, and purple. These colors are often associated with calmness, tranquility, freshness, and serenity. Cold colors are often used in spaces where relaxation and concentration are important, such as bedrooms or offices.

Duration from start mixing to removal of mold: +/- 65 min.
The quantities are based on making 1 candle as you have 1 mold. You will need these quantities again later when you make the 2nd candle.
After curing, a pot weighs about 350g. When pouring the mixture, there is always some material left in the mixing cup. That is why we need 360g of mixture.
Because there is 840g Acrylic One in the DIY box, it is possible to pour 2 candles.
Make sure that all of the terrazzo chips made in step 1, including any leftover material in the mixing cups, are used to add to the mixture in step 2. This is to avoid running out of material.
Of course it is always possible to order more Acrylic One to further expand your collection. The pigments in the box are sufficient for multiple candles.
Tip: Read through the steps carefully first and have everything ready before you start.
1. Determine the color of your base mixture in advance. Choice stress? Get inspiration via our Instagram account !
2. Set a timer for 20 minutes and start it as soon as you start mixing the ingredients.
3. Combine ingredients: add half of the powder to the liquid. Mix for 20 seconds until all the powder is absorbed into the liquid. Then add the rest of the powder to the liquid and mix for 1 minute until all lumps are gone.
4. Mix well and remember the time!
5. Add pigments. Max. 25 drops . The brochure color guide states 10 drops per 100 grams Acrylic One. So 25 drops for 255 grams.
If you do more, there is a chance that the curing process will slow down or even stop.
5. Mix well again.
6. Now add about half of the made color pieces, (so half of 120g) little by little, into the mixing cup. Mix everything well, but make sure that the whole remains liquid. If you tilt your cup, the liquid should still move.
You should not select piece by piece, because in the end it is 'random' how the pieces end up in the final result. So just stir well with the colored pieces to not lose time .
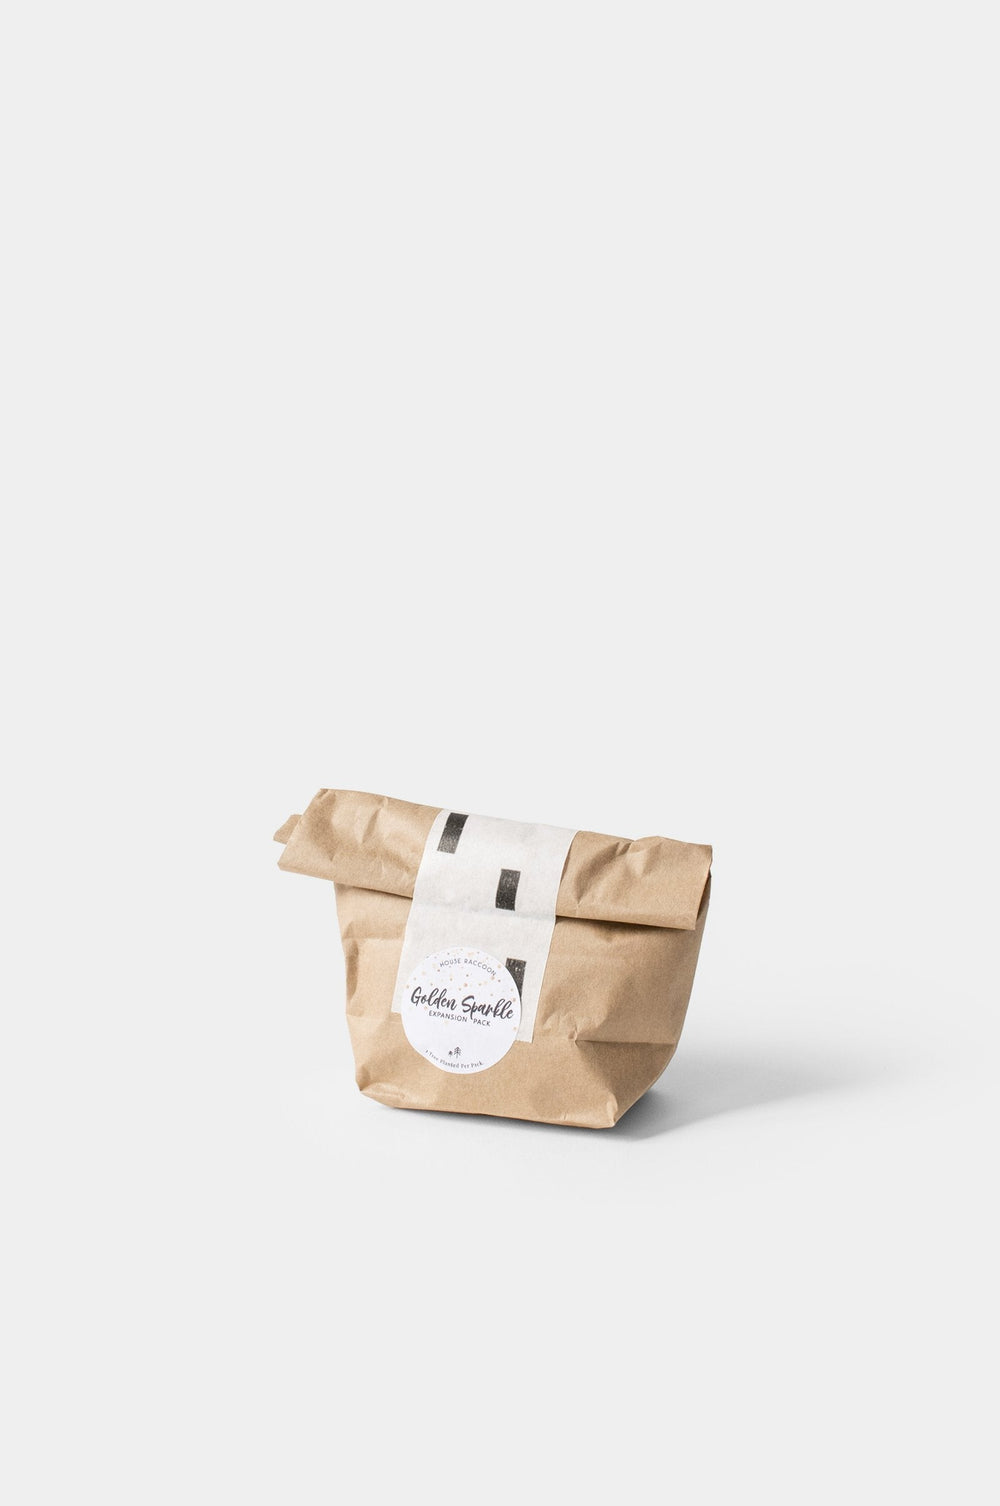
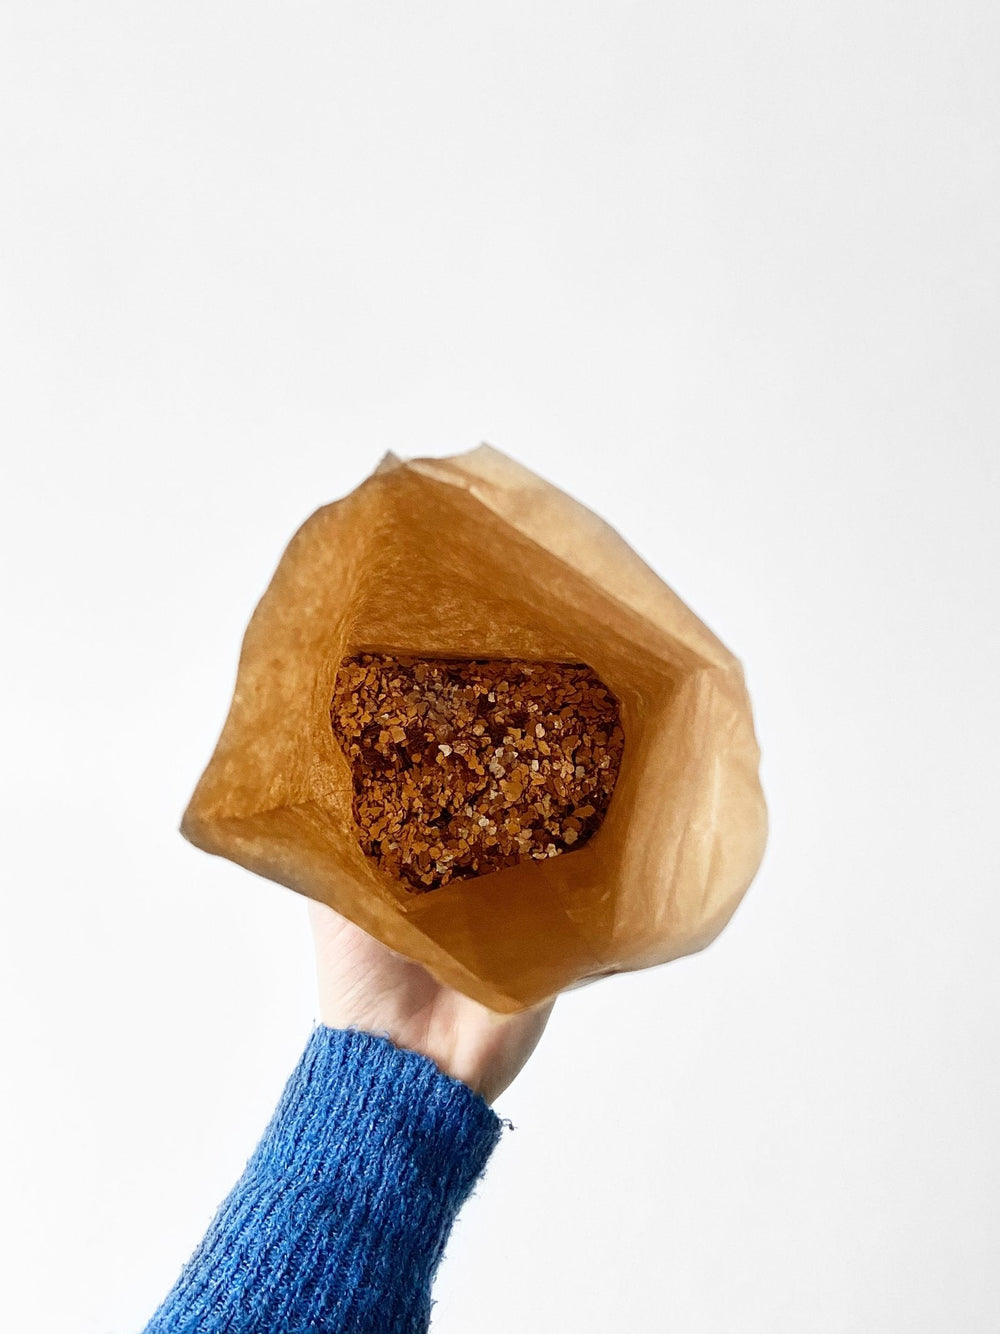
7. Optional: add gold/silver glitter .
8. Mix well again. Don't stress but think about the time!
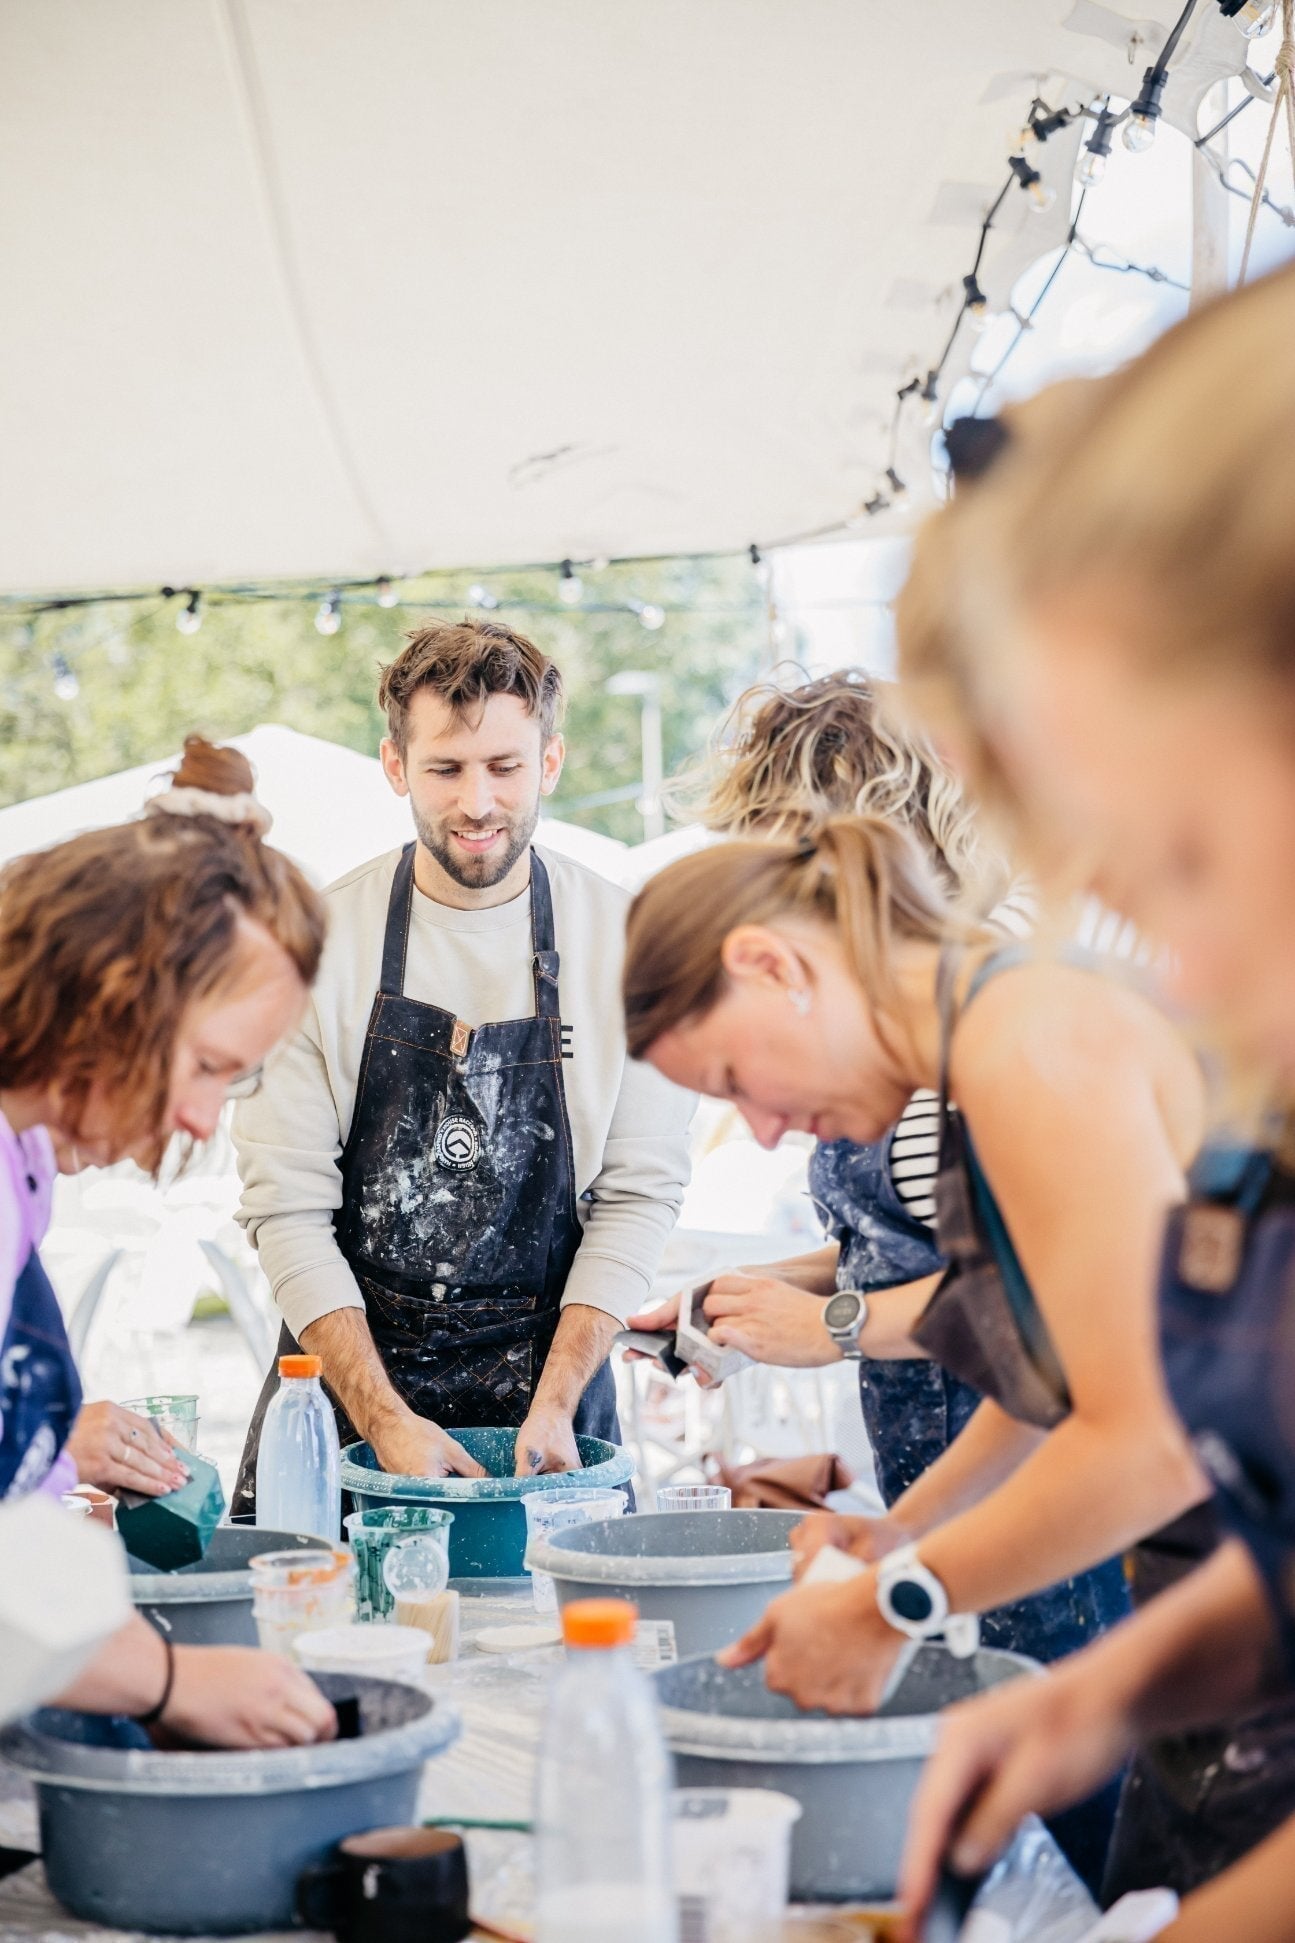
9. Place the template on a straight (level) surface.
10. Pour the mixture slowly into the mold. Shake the mold from left to right, from top to bottom so that the mixture is evenly distributed over the entire mold.
11. Gently tap the sides of the mold with your fingertips to release any air bubbles (you won't get it all out, but this will minimize air bubbles).
12. Let it harden for +/-45 - 60 min . CAUTION! Do not touch your mold until it has hardened to prevent breakage.
13. Press your nail or a toothpick into your jar. If it doesn't leave an imprint, you can remove the item from the mold.
PLEASE NOTE . Sometimes this process can be faster/slower due to the ambient temperature => the warmer, the faster the Acrylic One will start to harden. The colder, the slower the Acrylic One will harden. On the other hand, this can also depend on how many pigments you used. However, it is not an exact science!
Sometimes there is still a bit of material left in your mixing cup after you poured the cup into your mold. Take the baking paper or a plastic sheet and pour the remaining material on it. Then spread it out as explained in step 1. Wait half an hour, make some pieces and you have a new supply of terrazzo pieces!
Sometimes you just don't have enough material to fill the mold completely. Don't worry, because you can just make a little extra. If the Acrylic one in the cup is still soft, you can fill it with, for example, 10 grams of liquid and 20 grams of powder. A small drop of pigment, stir briefly and you can fill your mold.
If the Acrylic One in the mixing cup is already hardening, wait 30 minutes and crumble the hardened acrylic one into pieces. You can use these again as terrazzo pieces for your next candle.
DURATION TIME: +/- 5 MIN.
To be sure, push your nail into the bottom of the pot. Is it super hard? Then we can start the demolding!

You have to grab the mold with 2 hands. Press the bottom with your thumbs and use your fingers to peel the mold off your candle. This requires some force.

Pull the side of the mold up further until it is completely turned inside out. You don't have to worry about the pot sliding off the mold. It is firmly attached!

Now you can take the mold out of the pot. Be careful. Do this carefully because the pot will only reach its final strength within a day and is therefore still fragile. Slow is the magic word!

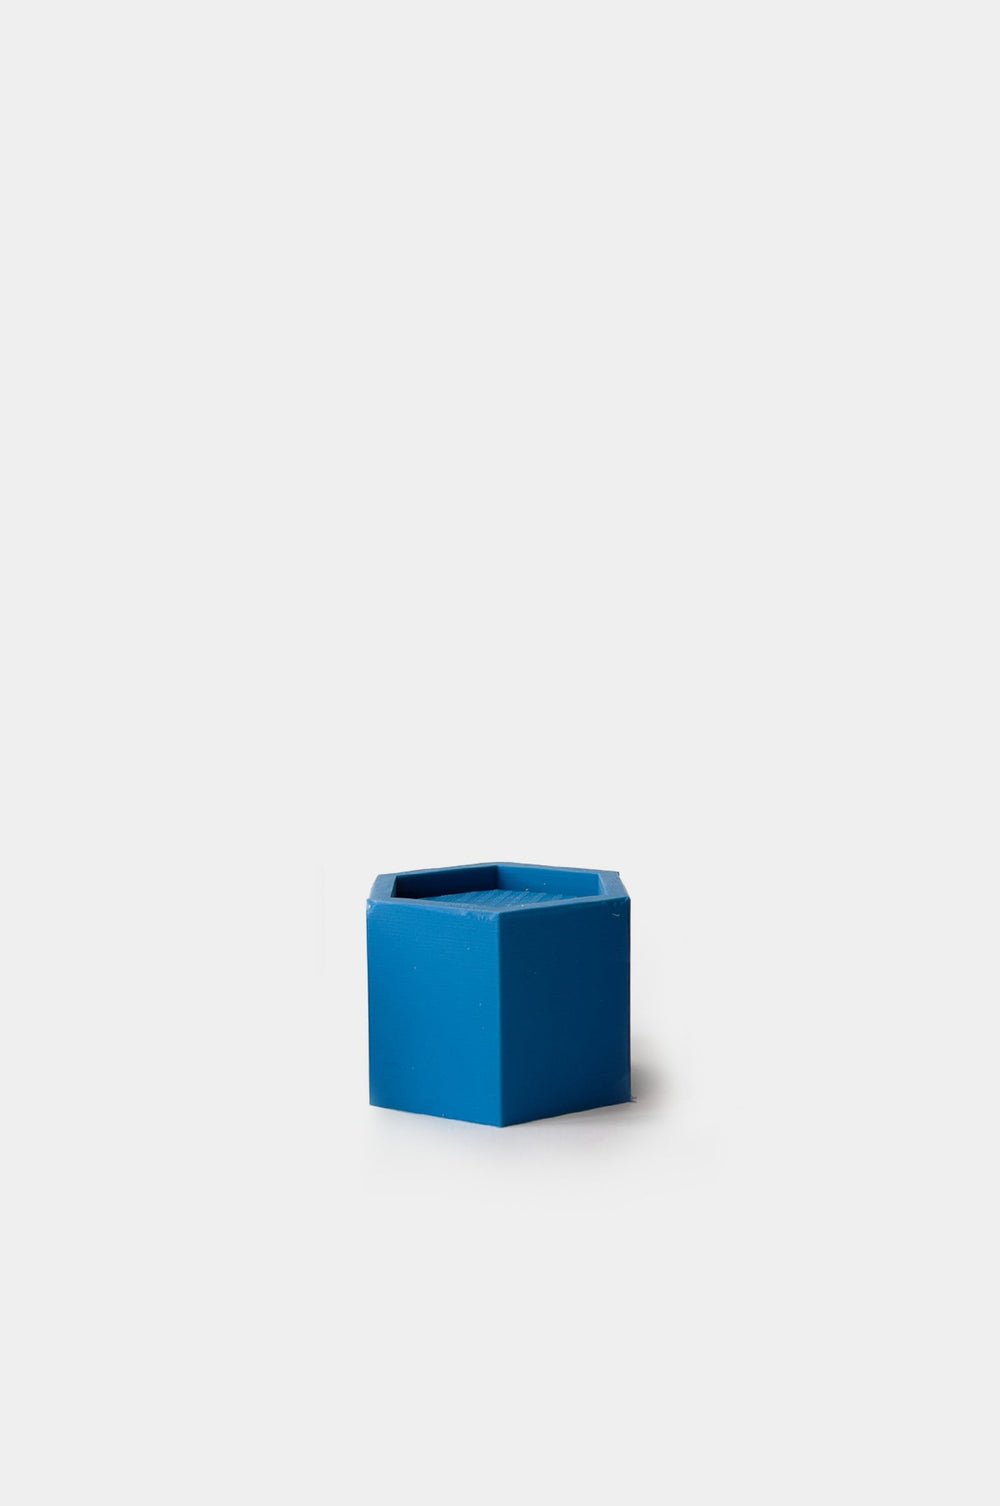
You can now easily push the mold back into its original shape.

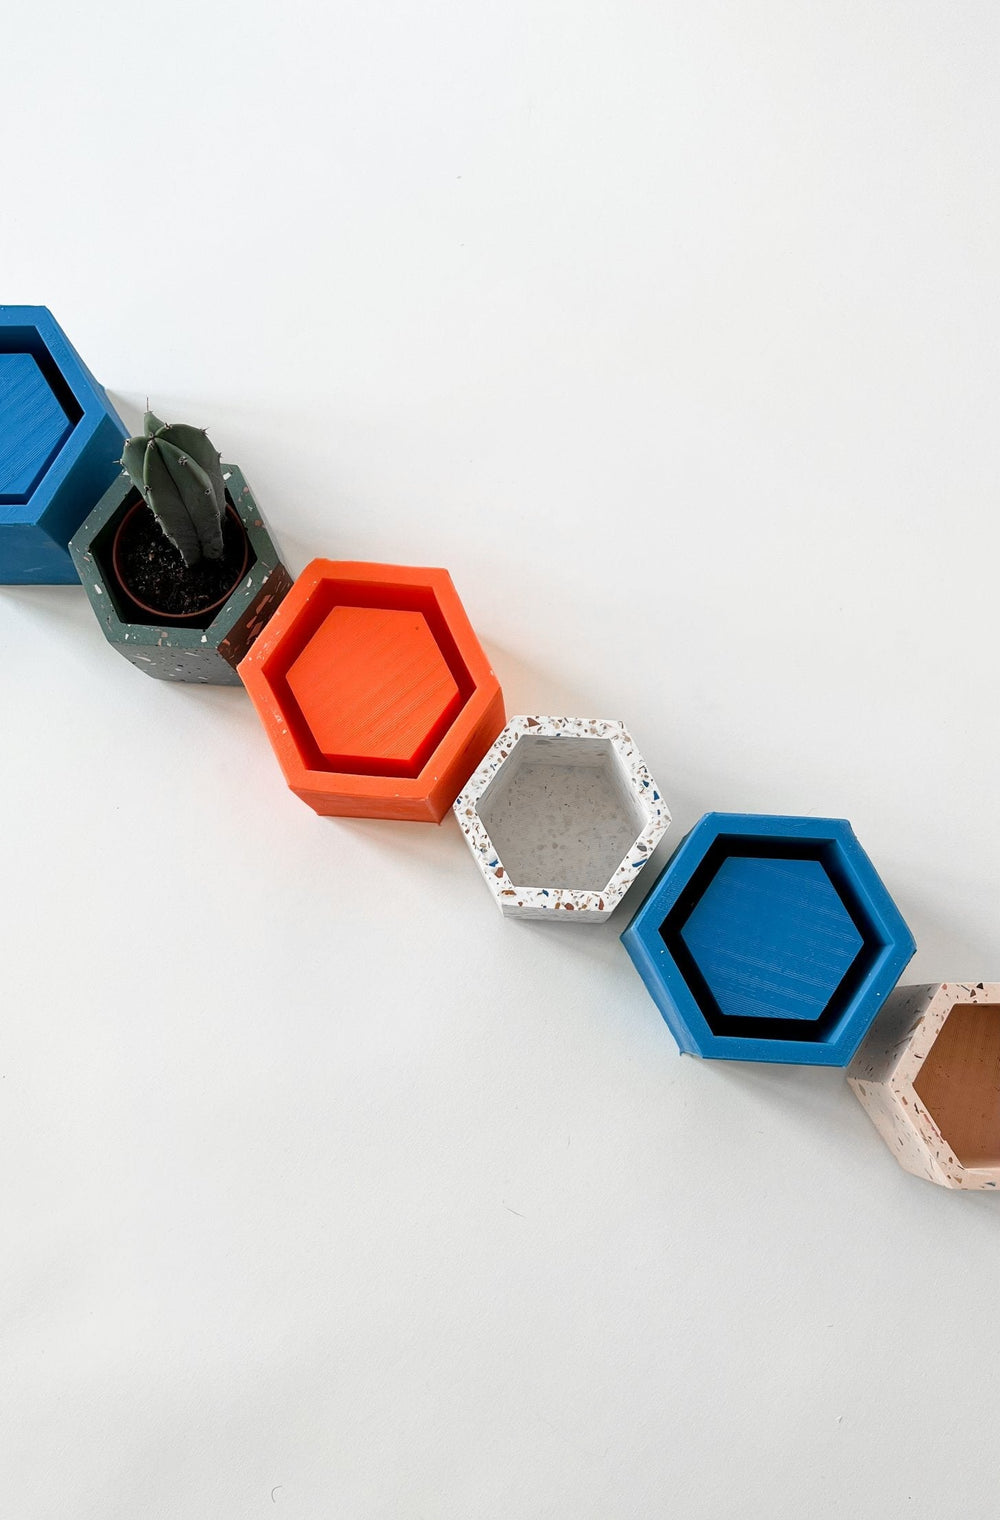
Tadaaa, de-molded like a boss! We'll add pictures of terrazzo pots soon but honestly we also really like this ocean inspired candle. ;)

DURATION TIME: +/- 70 MIN.
Now repeat steps 2 and 3 exactly. ;)
DURATION TIME: +/- 20 MIN.
What do you need?
DURATION TIME: +/- 15 MIN.
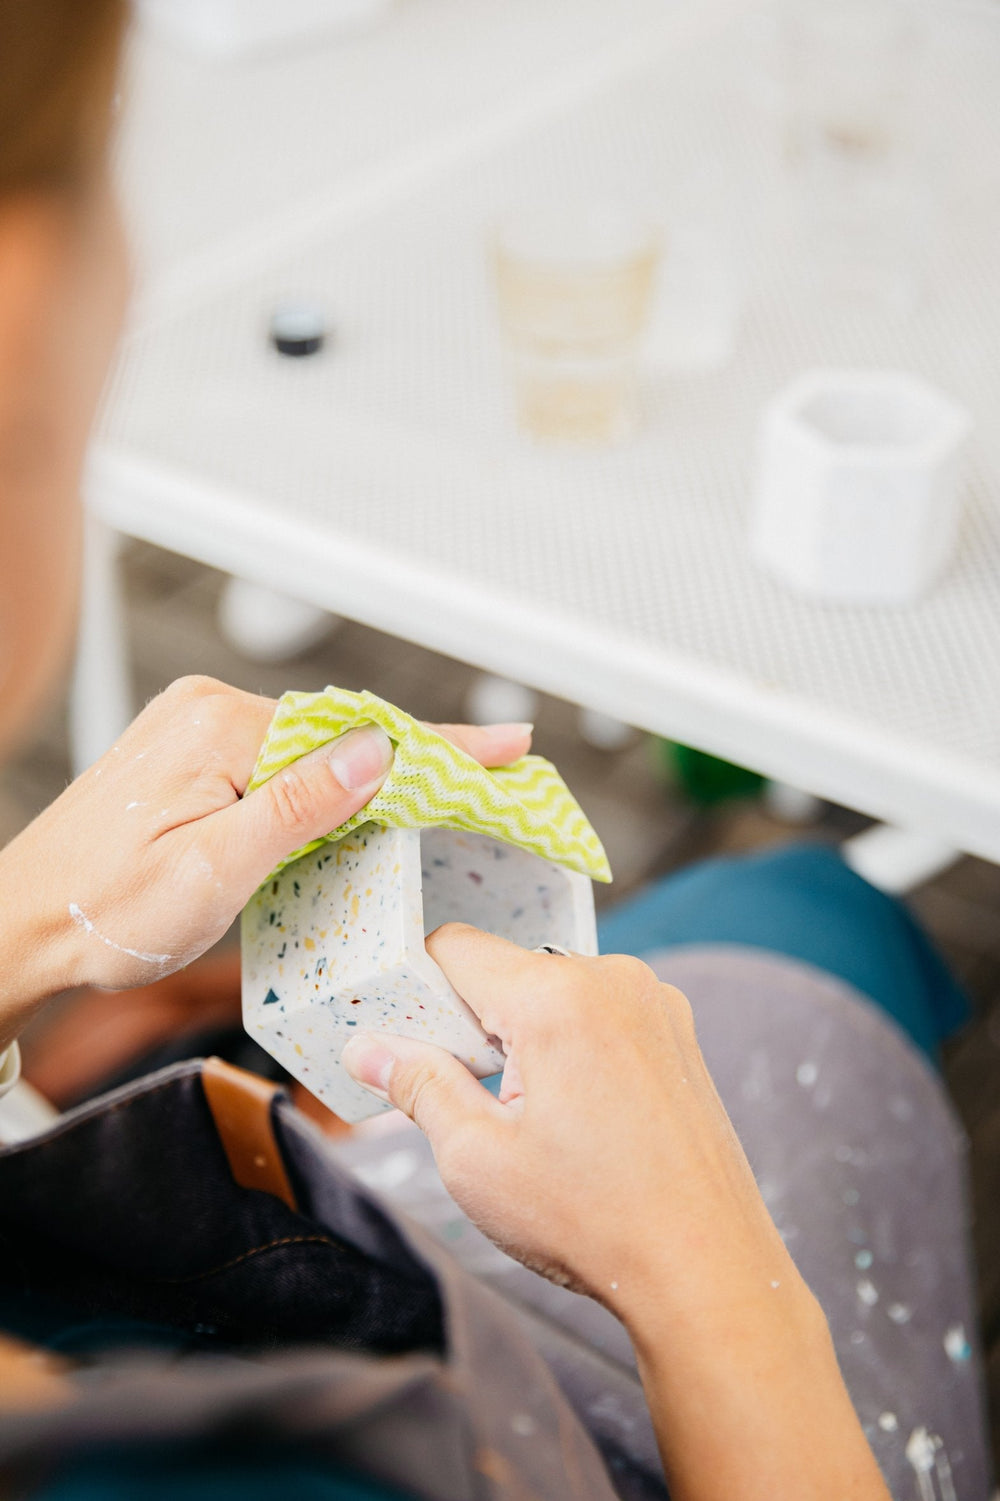
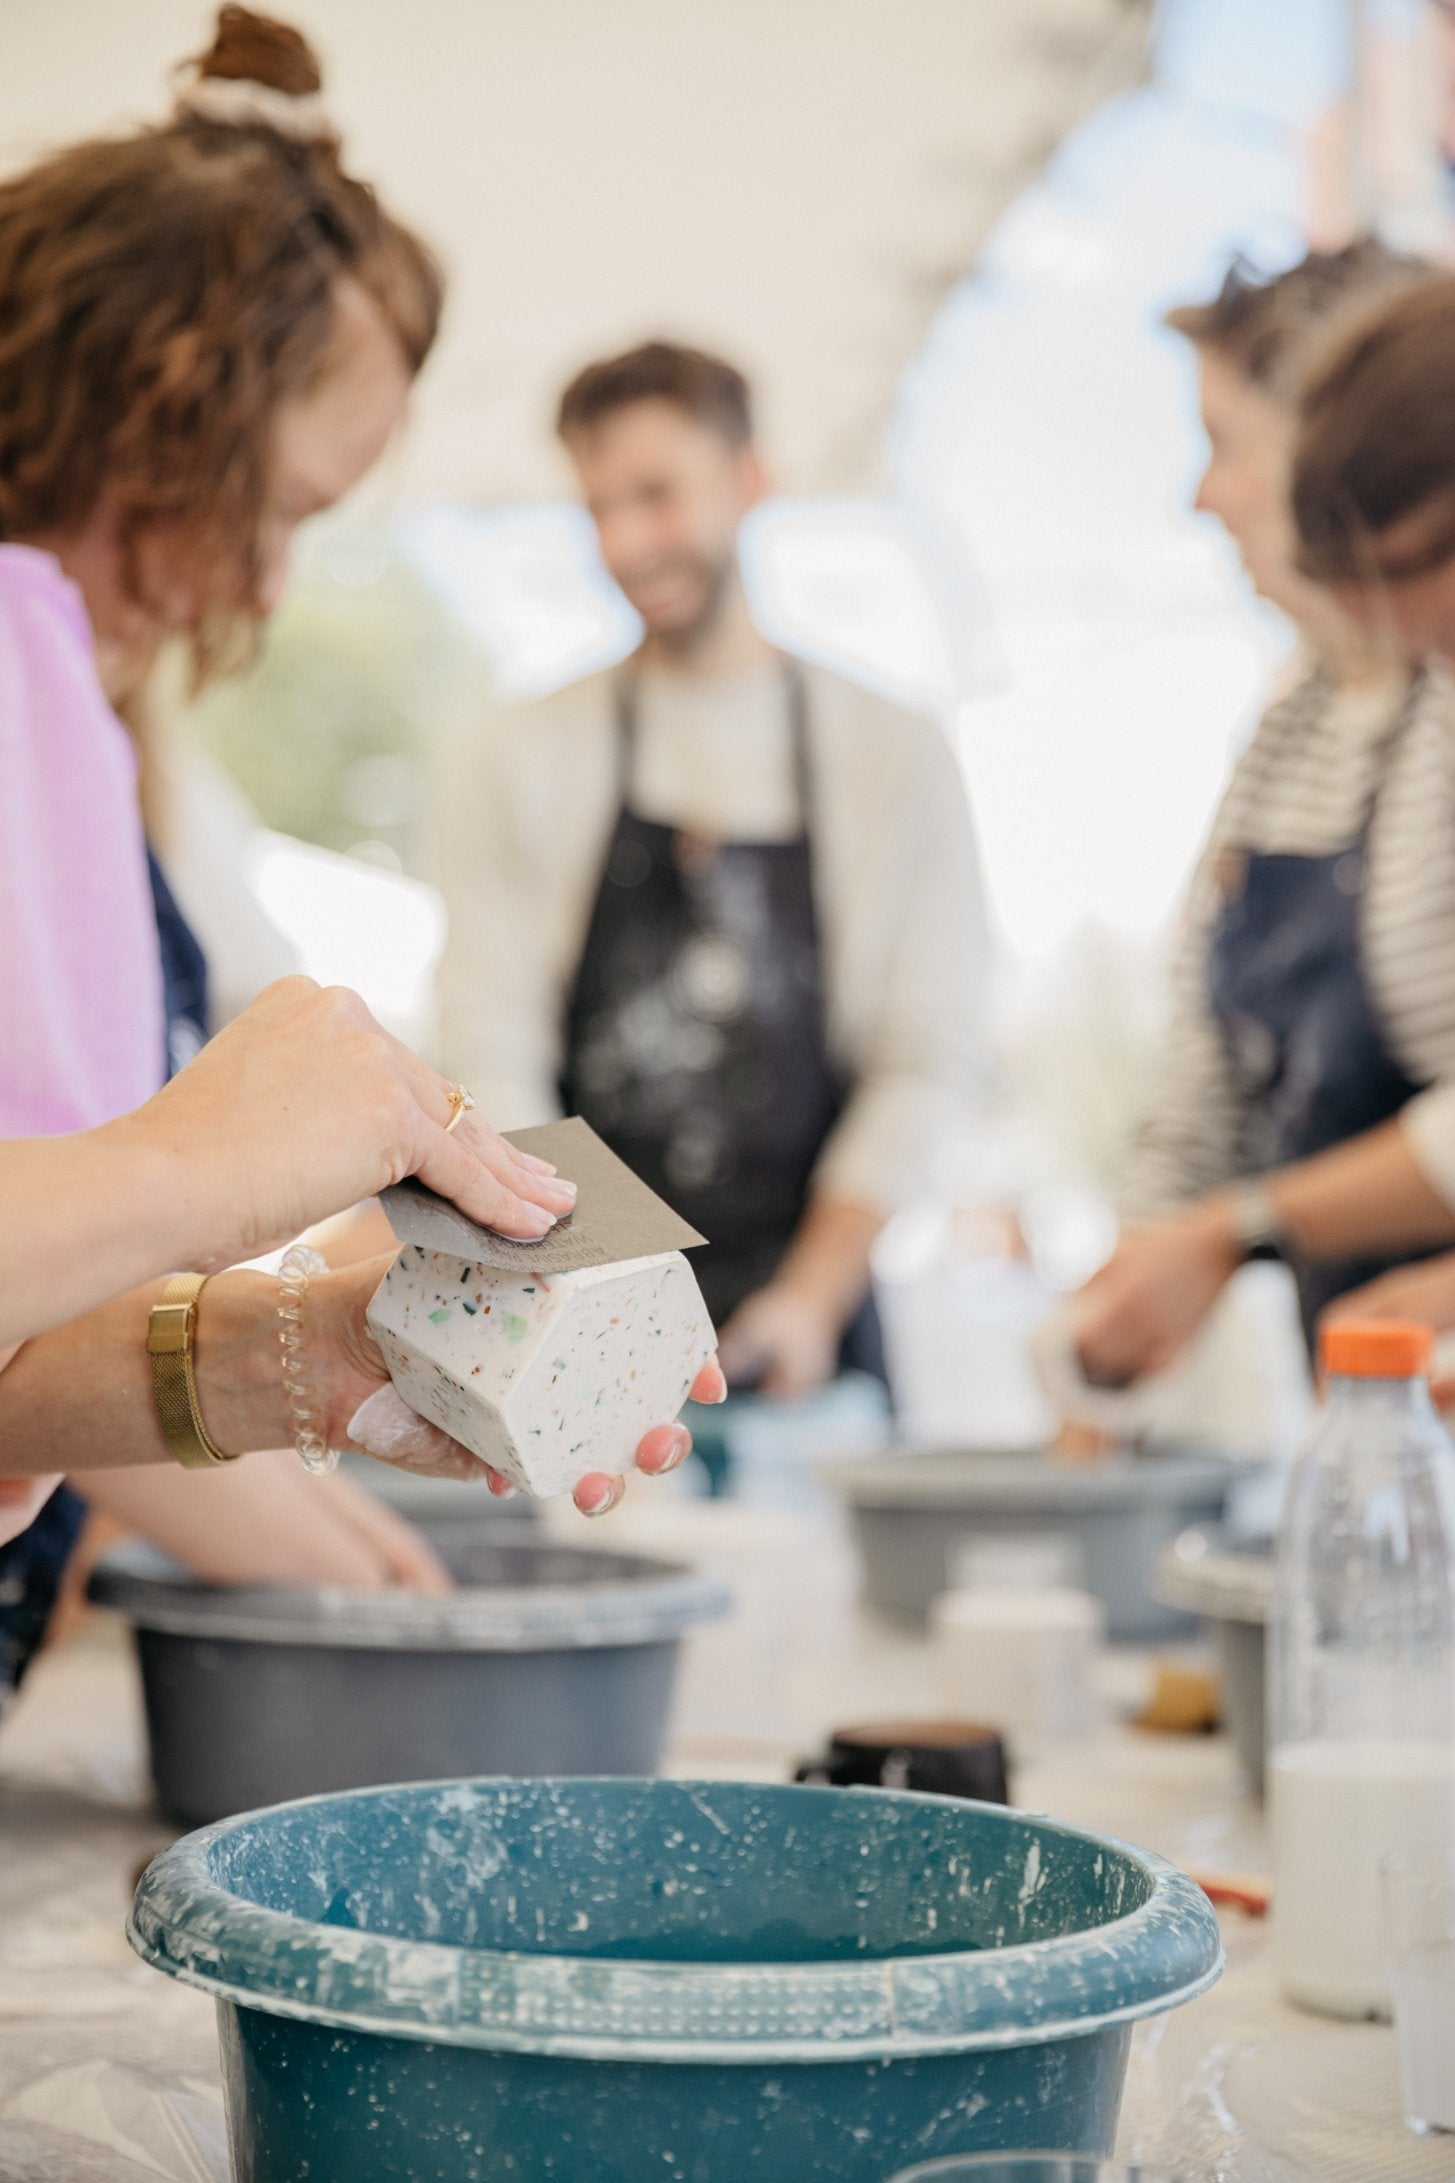
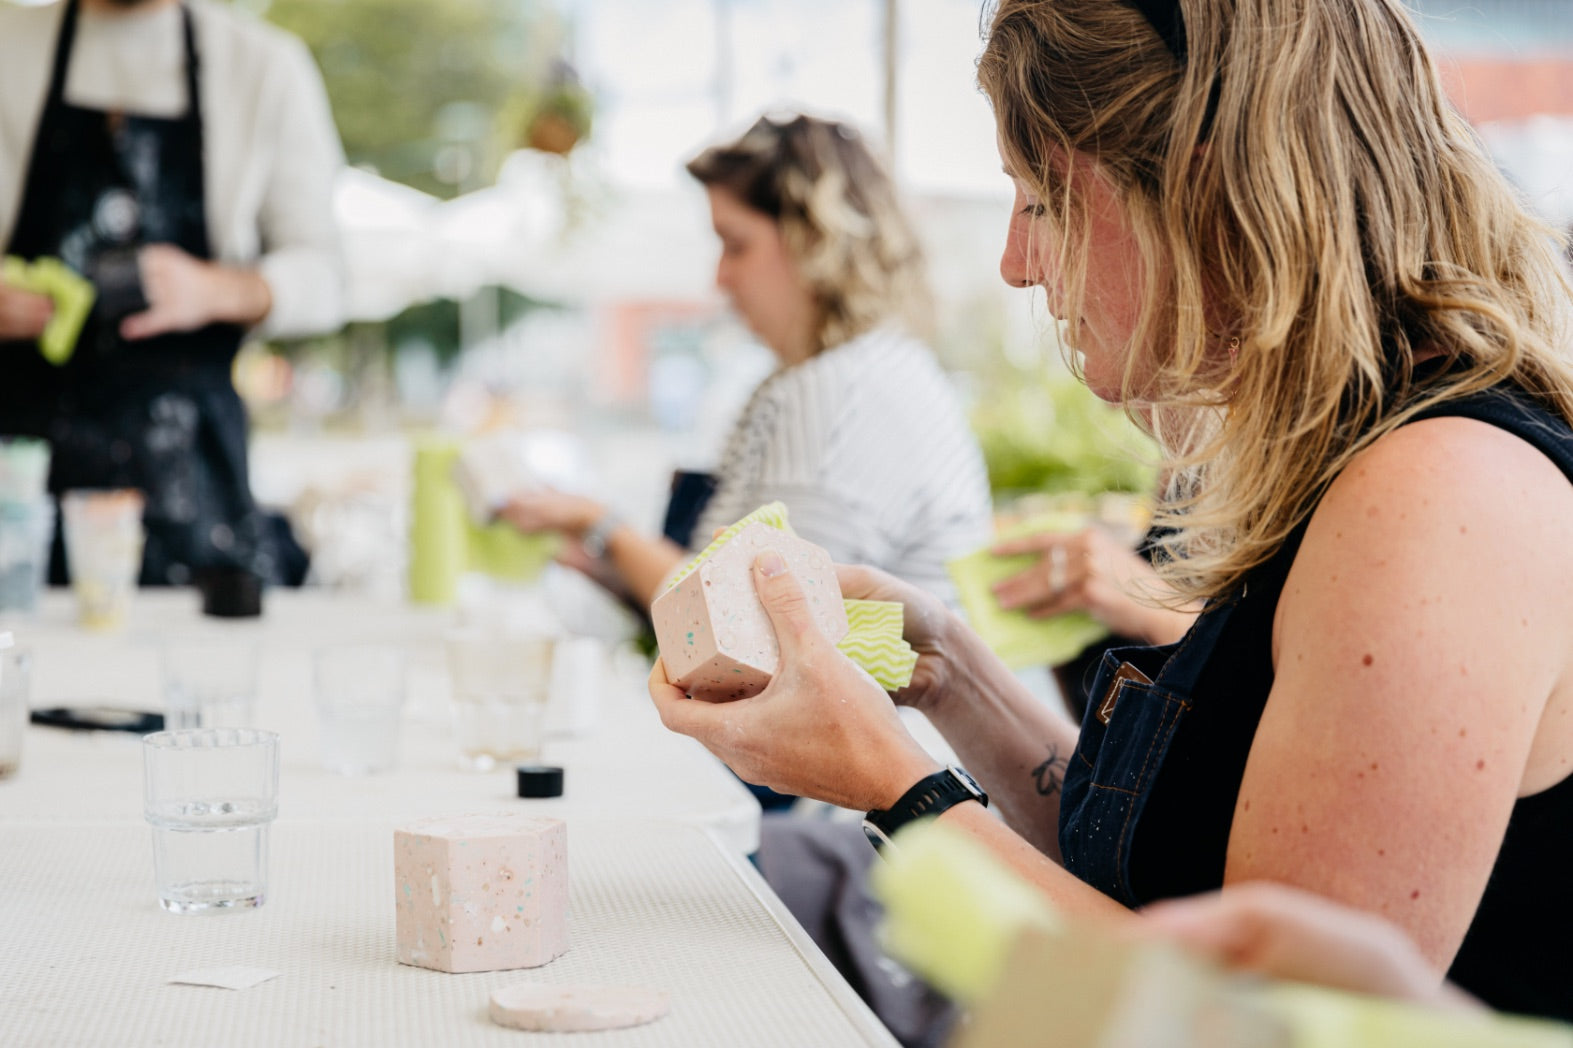
Compare your newly polished pot with a nice piece of untreated wood. To finish your pot, you can now choose from a number of options.
Please note! Do not provide the inside of your pot with a coating because it will come into contact with the heat/fire of the candle.
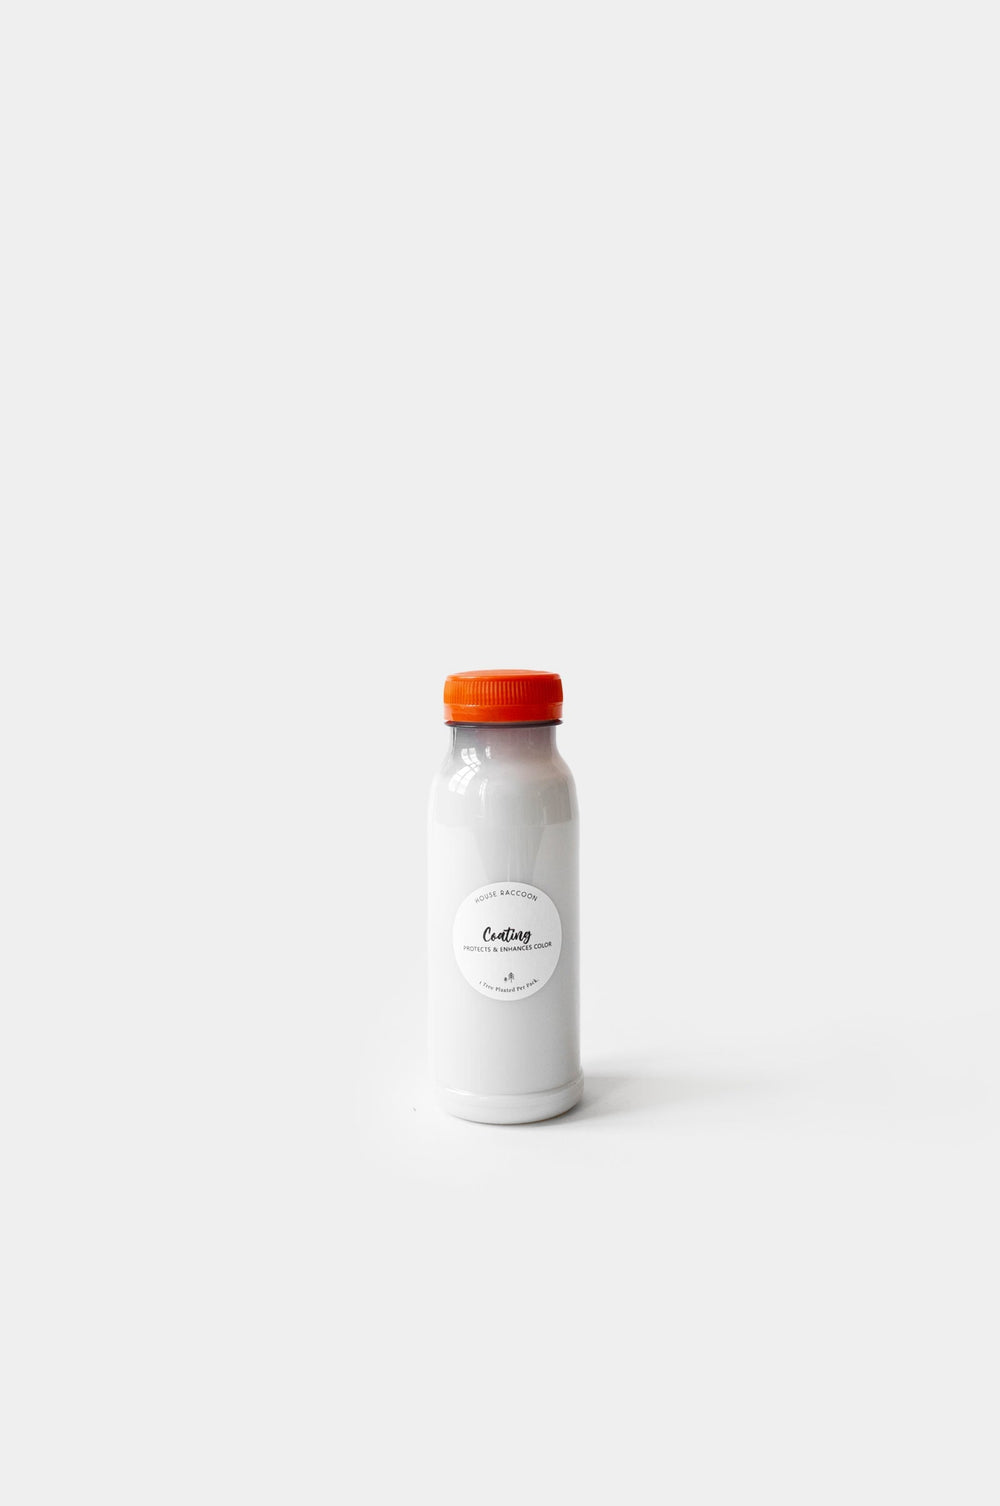
Applying the coating gives the pot a shine and can in some cases also cause streaks. To prevent this, we recommend diluting the coating with water (10 ml coating with 10 ml water). Immediately after applying the coating, rub it with a soft cloth so that only a thin layer remains. If desired, repeat this 1 or 2 more times after first allowing the coating to dry each time. To check whether this gives the desired result, first do a small test on the back of the pot.
For the very best protection, it is possible to apply a thin layer of Epoxy to the outside of the pot. This gives a strong and shiny result. For the instructions for working with Epoxy, we refer you to the instructions of the various suppliers.
Finally, if necessary, stick the silicone caps on the bottom of your item to protect your furniture.
DURATION TIME: +/- 30 MIN.
Stick a wick into each pot using the sticky pads provided.
Fix the wick in the middle by drilling a hole in your mixing sticks, by placing two mixing sticks on opposite sides, or by making a hole in an oblong piece of cardboard (see step 2 as an example).

Caution! Hot candle wax is very dangerous for burning. Use gloves and provide sufficient supervision with children.
Weigh 425g of candle wax into a cooking pot and heat it on a low heat until it is completely melted. If you have a bain-marie, you can use that and turn the heat to medium.
The candle wax may not reach a temperature of more than 70 degrees. So do not let it boil.
Stir regularly until everything has melted. Then add 2/3 of the fragrance (22g) and stir again.

Divide the candle wax evenly between the two jars. Try not to pour on the sides and stay at least 3 cm from the top.
You now let the candles harden for at least 8 hours and come to room temperature. Your candle wax will collapse around the wick. That is normal and the reason why we will pour a second (thinner) layer.
You don't have to clean out your pot yet, we will reuse it in step 4.

Now heat the remaining wax and add the remaining fragrance (+-10g) in the same way as in step 2.
Now fill the candles. Make sure the depression in the middle is nicely filled and continue filling until you have filled all around about 1-2 cm higher than the filling height in step 3. Stay at least 1 cm below the edge of the pot.
Now let it cool down again. Because you now poured a thinner layer of wax, the wax will not collapse and will cool down completely flat.
You can clean your cooking pots and washing residues by heating soap with a hairdryer and then cleaning it with kitchen paper.
Once most of the wax has been removed, you can continue washing everything with a sponge, soap and warm water.

Now cut the wick with sharp scissors to about 1 cm from the wax (better a little too long than a little too short).
Congratulations, your candles are now ready! 😍🕯️

You have created a beautiful design item completely by yourself.
Share your new design item on social media? Don't forget to tag us @houseraccoon (Instagram) or @houseraccoondecor (TikTok).
Did you know: The silicone mold can be used almost an infinite number of times and the pigments in the diy box are usually sufficient for a number of pots. You certainly still have cloths lying around somewhere and the mixing cups can be replaced by plastic containers. All that remains is to order new raw materials and we just happen to have them in stock in our webshop! 😜
Thousands of people have now made a coaster, pot, bowl or other object using our instructions. Although we have sweated drop after drop to make this manual complete and clear, it sometimes happens that not everything is clear and/or a mistake is noticed.
That's why we are always happy to receive feedback on what we can improve further. Do you have tips, suggestions, comments. Be sure to send an email to info@houseraccoon.com!